Mastering Voice Acting Basics for Creators in 2025
Learn voice acting basics through a step-by-step process to enhance your projects and make engaging audio content with confidence.
Mastering Voice Acting Basics for Creators in 2025
Voice acting might sound simple—just read a script and hit record, right? Not quite. Nearly 90 percent of successful voice actors dedicate time every week to intense practice and technical prep, according to industry surveys. Most people think it is all about having a nice voice, but the real secret is how you train your ear, pick your scripts, and refine your skills far beyond what a casual listener ever hears.
Table of Contents
- Step 1: Identify Your Natural Vocal Range And Quality
- Step 2: Choose Your Equipment For Recording
- Step 3: Practice Voice Techniques And Warm-Ups
- Step 4: Record Sample Scripts And Perform
- Step 5: Edit And Review Your Recordings For Quality
- Step 6: Gather Feedback And Refine Your Skills
Quick Summary
| Key Point | Explanation |
|---|---|
| 1. Understand Your Vocal Range | Assess your vocal capabilities through recordings, focusing on pitch, clarity, and emotional expressiveness. |
| 2. Choose Quality Recording Equipment | Invest in high-quality microphones and audio interfaces to achieve professional sound quality in your recordings. |
| 3. Develop a Consistent Warm-up Routine | Practice daily vocal exercises to improve flexibility, pitch control, and reduce strain during recording sessions. |
| 4. Record Diverse Script Samples | Select various scripts that showcase your vocal range, challenging your emotional expressiveness and adaptability. |
| 5. Seek Constructive Feedback | Share recordings with professionals to gain insights for improvement, documenting suggestions for ongoing skill refinement. |
Step 1: Identify Your Natural Vocal Range and Quality
Before diving into voice acting, understanding your vocal capabilities is crucial. Your voice is a unique instrument, and mastering voice acting basics begins with thorough self-assessment. This initial step helps you recognize your natural strengths, limitations, and potential areas for improvement.
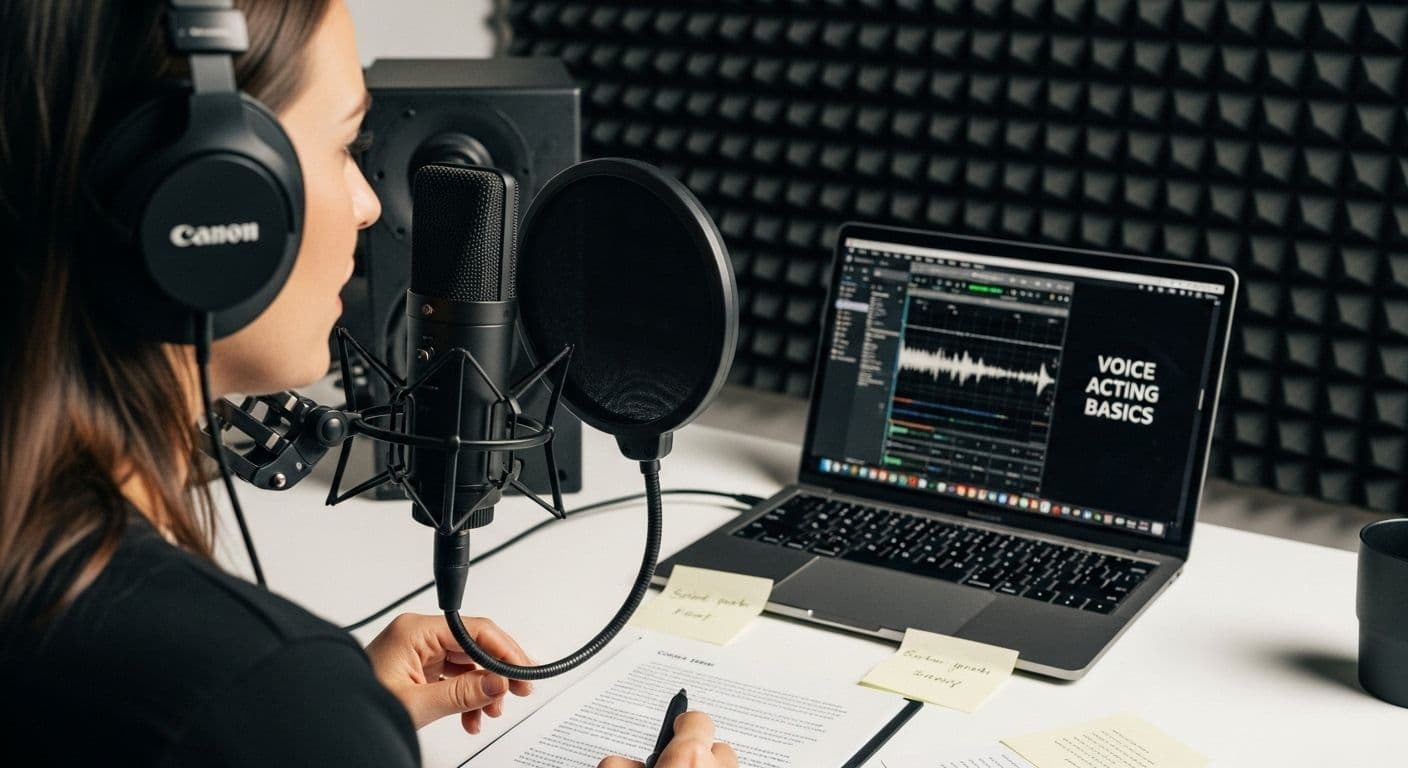
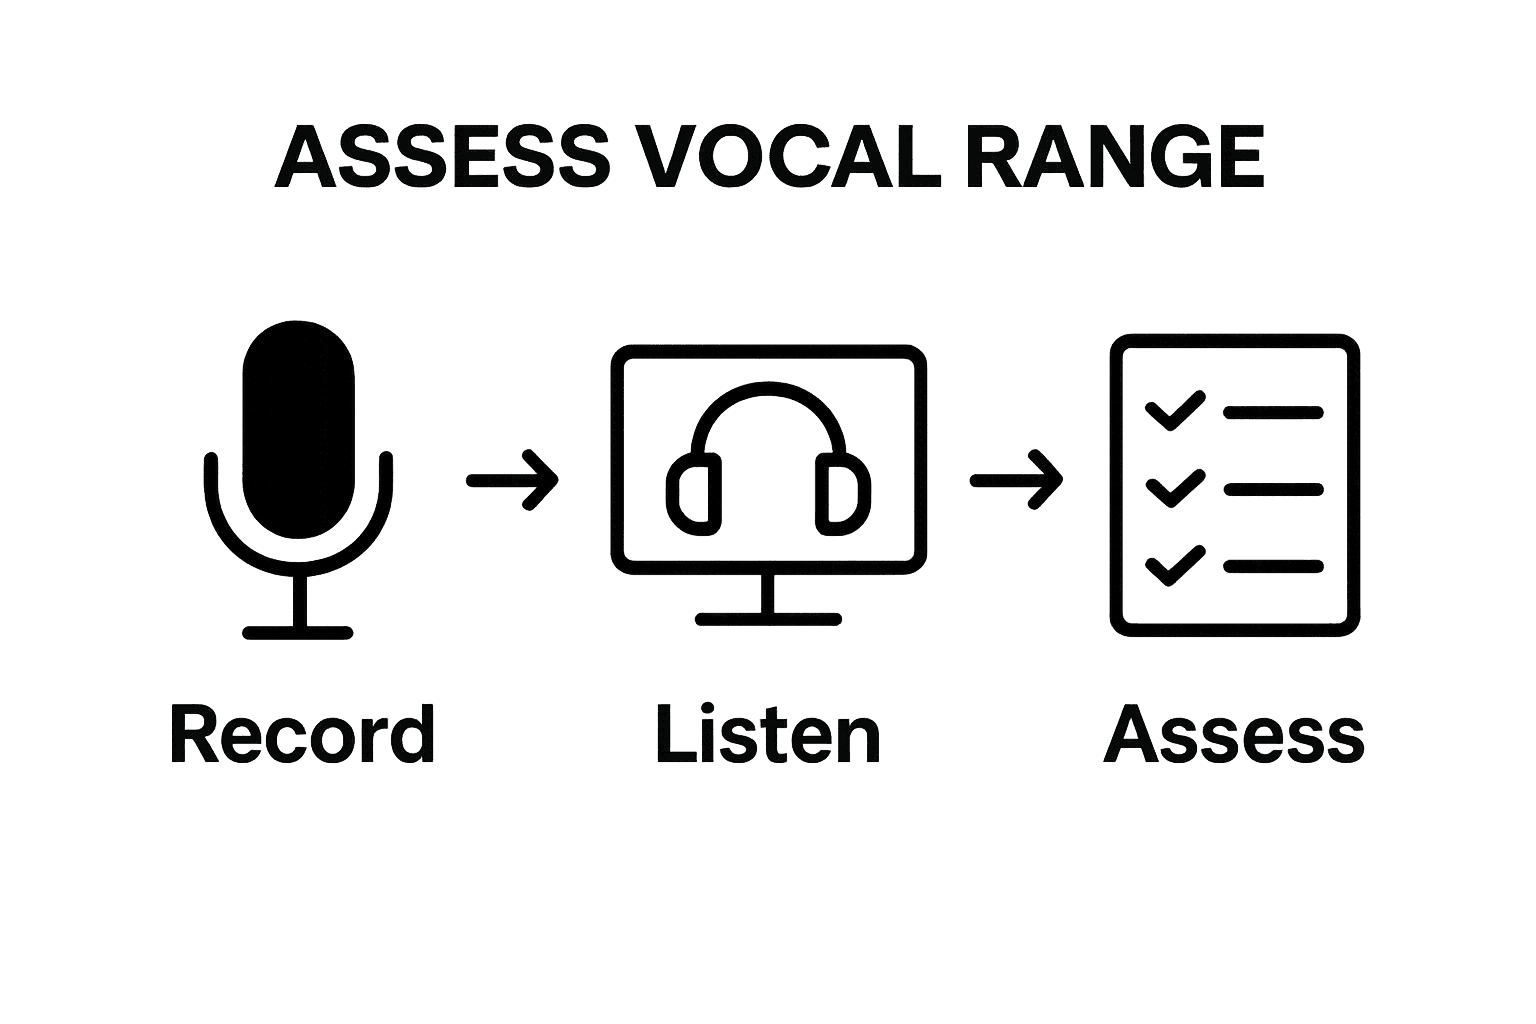
Start by recording yourself reading a standard passage or monologue using a high-quality microphone. Professional voice actors recommend using devices that capture nuanced audio details. During recording, focus on maintaining a neutral tone while reading consistently. Listen back critically, paying attention to pitch variation, tone clarity, and overall vocal characteristics.
According to the American Speech-Language-Hearing Association, assessing vocal range involves several key exercises:
- Sustaining vowel sounds at consistent pitch
- Reading standardized text passages
- Performing controlled pitch and volume range exercises
As you evaluate your recording, consider these critical aspects of vocal quality:
- Pitch Range: Can you comfortably move between low, mid, and high registers?
- Vocal Clarity: Is your pronunciation crisp and understandable?
- Emotional Expressiveness: How effectively can you convey different emotions?
Professional voice actors often work with vocal coaches to refine their skills, but self-assessment provides an essential foundation. Experiment with different character voices, accents, and emotional states during your recording to discover your versatility.
Verification is key. A successful assessment means you understand your current vocal capabilities, potential limitations, and have a clear roadmap for improvement.
Here is a checklist table to help you verify your vocal range and quality assessment is complete and thorough.
| Verification Step | Completion Criteria |
|---|---|
| Assess Pitch Range | Can comfortably shift between low, mid, and high registers. |
| Evaluate Vocal Clarity | Pronunciation is crisp and fully understandable on playback. |
| Judge Emotional Expressiveness | Clearly convey a range of emotions in recordings. |
| Identify Strengths and Limitations | Noted your unique vocal assets and potential areas for improvement. |
| Experiment with Variety | Tried different character voices, accents, and emotional states. |
| Record and Playback Critically | Listened to recordings to spot nuances and issues. |
| Develop Improvement Roadmap | Outlined practice or coaching steps for growth. |
Step 2: Choose Your Equipment for Recording
Selecting the right recording equipment marks a critical milestone in your voice acting journey. Professional sound quality separates amateur recordings from professional voiceover work. Your equipment setup will directly impact the clarity, richness, and overall performance of your vocal recordings.
A comprehensive recording system requires strategic investment in several key components. Start with a high-quality microphone, which serves as the foundation of your audio setup.
This table summarizes the essential equipment needed for a professional voice acting recording setup, including typical options and their specific purposes.
| Equipment | Example Type | Purpose |
|---|---|---|
| Microphone | Condenser (USB or XLR) | Captures detailed, high-quality vocal audio |
| Audio Interface | USB Audio Interface | Converts analog microphone signal to digital format |
| Computer | Modern desktop or laptop | Runs recording and editing software |
| Pop Filter | Mesh or foam shield | Reduces plosive sounds and unwanted noise |
| Mic Stand | Adjustable boom arm or desk stand | Positions microphone stably for accurate recording |
| Headphones | Closed-back monitoring | Lets you hear recordings and edit precisely |
| Recording Software | Audacity, Adobe Audition, Pro Tools | Records and edits voice tracks |
According to SAG-AFTRA, your recording setup should include:
- A reliable computer (less than seven years old)
- Professional microphone (USB or XLR)
- Appropriate audio interface
- Pop filter to reduce unwanted sound artifacts
- Microphone stand with adjustable positioning
- Closed-back monitoring headphones
Beyond hardware, selecting appropriate recording software is equally important. Popular digital audio workstations like Audacity, Adobe Audition, and Pro Tools provide robust tools for recording, editing, and processing voice tracks. Each platform offers unique features, so experiment to find the interface most comfortable for your workflow.
When verifying your equipment setup, focus on audio clarity, minimal background noise, and consistent sound quality across different recording scenarios. Test your microphone with various voice styles, volumes, and emotional ranges. A successful setup allows you to capture professional-grade recordings that showcase your vocal versatility and technical precision. Remember, your equipment is an investment in your voice acting potential, so prioritize quality and compatibility with your long-term creative goals.
Step 3: Practice Voice Techniques and Warm-ups
Voice acting demands more than natural talent. Systematic vocal training transforms raw potential into professional performance. Developing a consistent warm-up routine prepares your voice for complex character portrayals and prevents potential vocal strain during extended recording sessions.
Begin your vocal preparation with physical and respiratory exercises that support vocal flexibility. Deep diaphragmatic breathing establishes a strong foundation. Inhale slowly through your nose, allowing your abdomen to expand, then exhale gradually while maintaining controlled breath support. This technique increases lung capacity and provides the sustained air pressure necessary for varied vocal performances.
According to research published in the Journal of Voice, structured vocal exercises can significantly improve acoustic voice metrics. A systematic warm-up routine should include:
- Lip trills and tongue rolls to relax facial muscles
- Humming scales across different pitch ranges
- Articulation exercises targeting consonant and vowel clarity
- Vocal sirens that smoothly transition between low and high registers
Consistent practice is key. Dedicate 15-20 minutes daily to your vocal warm-up routine, treating it like an athlete would approach physical training. Record yourself during these sessions to track improvement and identify areas requiring additional focus. Pay attention to vocal fatigue, maintaining awareness of your physical limitations while gradually expanding your range and endurance.
Verification of successful vocal technique development includes improved pitch control, enhanced emotional range, reduced vocal strain, and increased comfort during prolonged recording sessions. Remember that voice acting is a skill continuously refined through disciplined practice and mindful technique. Your voice is an instrument waiting to be mastered, with each warm-up session bringing you closer to professional performance excellence.
Step 4: Record Sample Scripts and Perform
Professional voice acting begins with strategic script selection and performance. This critical step transforms your technical preparation into tangible demonstration of vocal skills. Choose scripts that showcase your range, allowing potential clients or agencies to understand your versatility and unique vocal characteristics.
Start by collecting diverse scripts representing different genres. Commercial announcements, narrative voiceovers, character dialogues, and instructional content provide excellent opportunities to demonstrate your adaptability. Aim for scripts that challenge your vocal range and emotional expressiveness. Prepare each script by marking natural pauses, emphasizing key words, and identifying emotional transitions that require subtle vocal modulation.
According to the University of Minnesota, effective script preparation involves:
- Writing clean, easily readable scripts
- Using large fonts with wide margins
- Rehearsing to refine volume and vocal variety
- Practicing precise enunciation and strategic pauses
When recording, create a controlled environment that minimizes background noise. Position your microphone at a consistent angle, typically slightly off-center to reduce direct air pressure. Maintain a relaxed posture that supports proper breathing and vocal projection. Record multiple takes of each script, allowing yourself the flexibility to experiment with different interpretations and emotional nuances.
Verification of successful performance includes creating a demo reel that demonstrates vocal range, emotional depth, and technical precision. Listen critically to your recordings, identifying areas for improvement. A compelling demo should be concise (60-90 seconds), showcase at least three distinct vocal styles, and reflect your unique performance strengths. Remember that voice acting is both an art and a skill, requiring continuous refinement and passionate dedication to your craft.
Step 5: Edit and Review Your Recordings for Quality
Audio editing transforms raw recordings into professional voice acting submissions. This critical refinement stage separates amateur efforts from polished professional work. Your goal is to create clean, precise audio tracks that highlight your vocal performance while eliminating ditracting technical imperfections.
Begin by listening critically to your entire recording multiple times. Use high-quality monitor headphones to catch subtle audio artifacts like breath sounds, mouth clicks, unexpected background noise, or uneven volume levels. Professional voice actors develop a keen ear for audio nuances that might escape untrained listeners. Listen first for overall performance quality, then conduct a technical review focusing on sound clarity, consistent tone, and smooth audio transitions.
According to NPR's Audio Production Guidelines, effective audio editing involves:
- Removing unwanted background noises
- Normalizing volume levels
- Eliminating ditracting breaths and mouth sounds
- Ensuring consistent audio clarity throughout the recording
Utilize digital audio workstation tools like noise reduction, compression, and equalization to enhance your recording. These technical adjustments help smooth out audio inconsistencies without compromising the natural character of your performance. Pay special attention to maintaining the emotional authenticity of your original delivery while cleaning up technical imperfections.
Verification of successful editing includes a clean recording that sounds professional, maintains emotional authenticity, and meets industry technical standards. Your edited track should have consistent volume, minimal background noise, and crisp vocal clarity.
 Remember that audio editing is both a technical skill and an art form requiring patience, practice, and a discerning ear for quality sound production.
Step 6: Gather Feedback and Refine Your Skills
Continuous improvement defines successful voice acting careers. Feedback serves as the crucial compass guiding your professional development, transforming raw talent into polished performance. Seeking constructive criticism requires vulnerability, openness, and a commitment to growth that distinguishes professional voice actors from amateur enthusiasts.
Initiate your feedback process by sharing recordings with trusted professionals in the voice acting community. Join online forums, attend workshops, and connect with experienced voice actors who can provide nuanced, technical insights. Professional coaches and industry veterans offer perspective that goes beyond personal perception, identifying subtle vocal patterns and performance characteristics you might overlook.
According to research in Frontiers in Education, effective skill refinement involves:
- Actively participating in dialogic feedback sessions
- Maintaining an open mindset toward constructive criticism
- Developing metacognitive awareness of your performance
- Implementing specific, actionable suggestions
Develop a systematic approach to feedback integration. Create a tracking system where you document each critique, identifying recurring themes or specific areas requiring improvement. Record yourself performing the same script multiple times, experimenting with suggested modifications. This deliberate practice transforms theoretical feedback into tangible skill enhancement.
Verification of successful feedback integration involves demonstrating measurable improvement in vocal technique, emotional range, and technical precision. A compelling indicator is your ability to adapt quickly to different performance requirements while maintaining authentic vocal character. Remember that voice acting is a journey of continuous learning, where each piece of feedback represents an opportunity for growth and artistic refinement.
Transform Your Voice Acting Practice into Cinematic Video Content
You have worked hard to perfect your vocal range, polish your recording setup, and build a strong voice acting foundation. But what comes next after hours spent mastering techniques and capturing your unique sound? The next logical step is to showcase your talent through cinematic visuals and seamless storytelling. Many creators struggle to bring their voice performances to life in high-quality video content, which can make it difficult to gain the recognition and audience they deserve.

Let your creative journey reach its full potential by combining your voice acting skills with the effortless video production tools at Palmedor.ai.
Describe your script, add your vocal performance, and let our AI instantly transform it into a professional, share-ready video. Streamline your workflow with features built for creators just like you, from smart scene management to flexible editing. Do not let your hard-earned voice acting skill stay hidden in audio files. Visit Palmedor.ai and turn your practice demos into dazzling brand films, narrative shorts, or social clips. Start now while your skillset is fresh and let your voice be seen as well as heard.
Frequently Asked Questions
What is the best way to assess my vocal range for voice acting?
A good way to assess your vocal range is to record yourself reading aloud and then listen back critically. Focus on pitch variation, tone clarity, and emotional expressiveness. Exercises like sustaining vowel sounds and reading standardized passages can also help.
What equipment do I need to start my voice acting career?
To start voice acting, invest in a high-quality microphone (preferably a condenser), a reliable computer, an audio interface, a pop filter, and monitoring headphones. Additionally, choose recording software that suits your workflow, such as Audacity or Adobe Audition.
How can I practice and improve my vocal techniques?
To improve your vocal techniques, establish a consistent warm-up routine that includes exercises like diaphragmatic breathing, lip trills, and vocal sirens. Dedicate 15-20 minutes daily to practice and record yourself to track your progress over time.
What should I include in a voice acting demo reel?
A successful voice acting demo reel should include samples that showcase your vocal range and emotional depth. Keep it concise (60-90 seconds), feature at least three distinct vocal styles, and ensure it reflects your unique strengths as a performer.