Master Visual Effects for Beginners: Create Stunning Videos
Learn essential visual effects for beginners with this step-by-step guide to enhance your video content and captivate your audience.
Master Visual Effects for Beginners: Create Stunning Videos

Starting your visual effects journey feels thrilling when you see what modern editing software can do. You might expect only Hollywood studios to have access to these tools, but it turns out that even beginners can use free programs like DaVinci Resolve that offer professional visual effects without the steep price tag. The real surprise is how much power is at your fingertips once you know where to look and how to set up your creative workspace.
Table of Contents
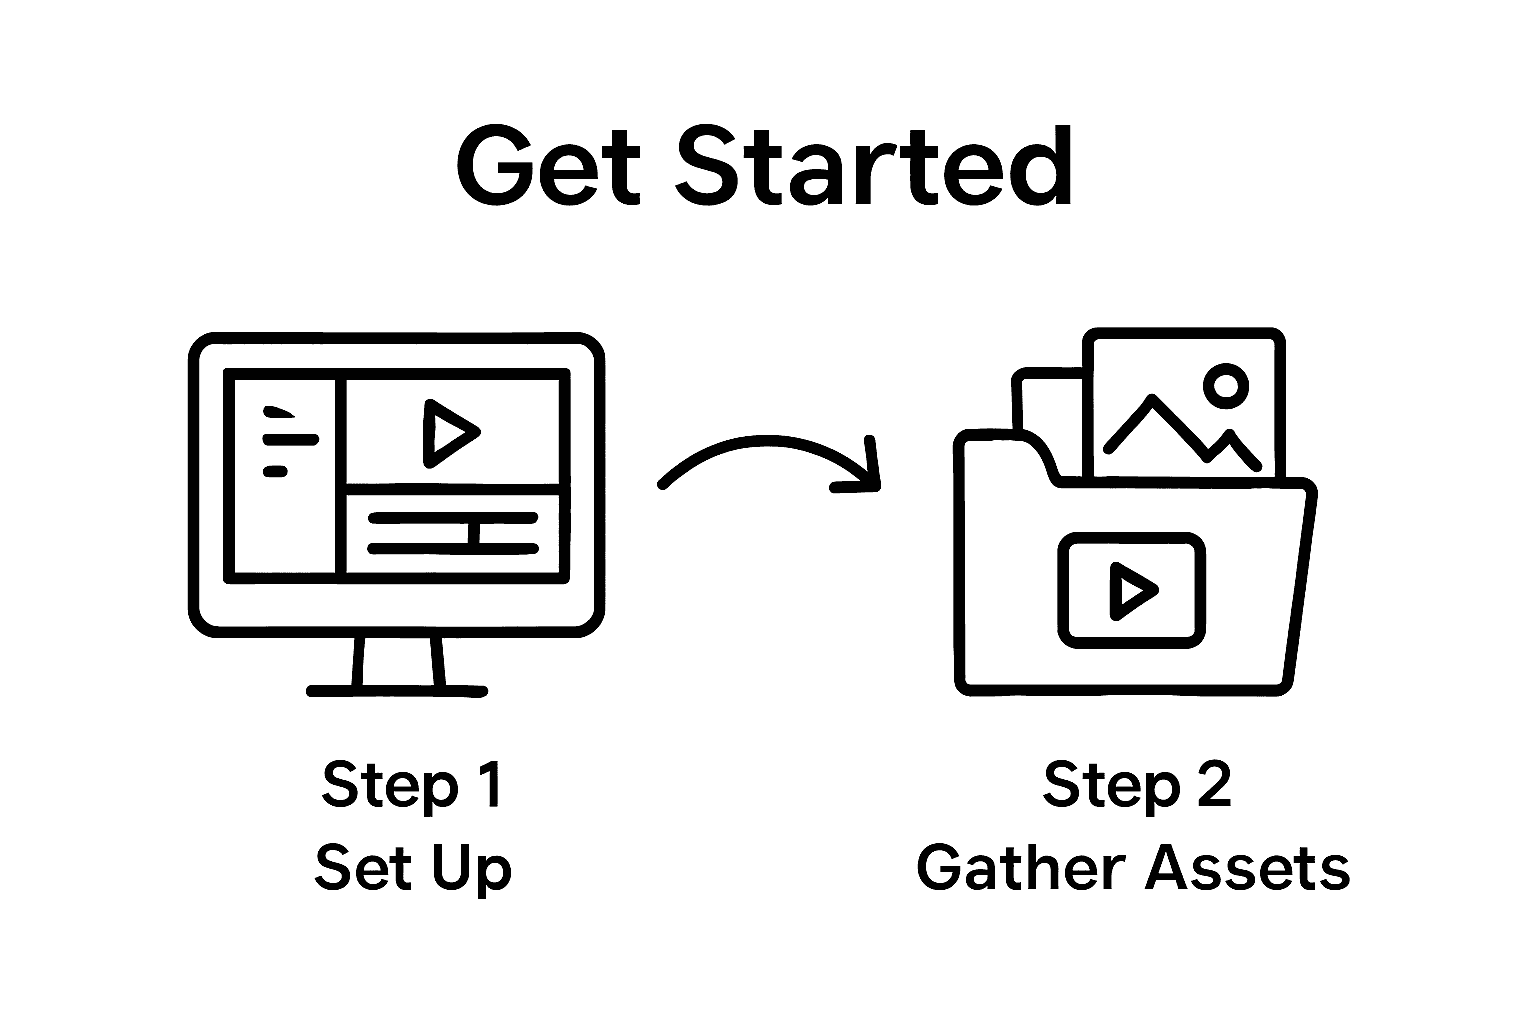
- Step 1: Set Up Your Video Editing Software
- Step 2: Gather Visual Assets And Tools
- Step 3: Create Basic Visual Effects Using Templates
- Step 4: Integrate Visual Effects Into Your Video Project
- Step 5: Preview And Fine-Tune Your Effects
- Step 6: Export And Share Your Final Video
Quick Summary
| Key Point | Explanation |
|---|---|
| 1. Choose the Right Software | Select video editing software based on your skill level and project needs to ensure effective visual effects creation. |
| 2. Organize Visual Assets | Build a structured library of high-quality assets to enhance your visual storytelling capabilities and streamline your editing process. |
| 3. Utilize Templates for Learning | Start with professional templates to understand visual effects techniques while customizing them to fit your style and project requirements. |
| 4. Focus on Seamless Integration | Implement precise compositing and color matching techniques to ensure effects blend naturally with original footage for greater narrative impact. |
| 5. Optimize Export Settings for Sharing | Export your final video in high-quality formats tailored to specific platforms to maintain visual integrity and accessibility for viewers. |
Step 1: Set Up Your Video Editing Software
Launching your visual effects journey begins with selecting and configuring the right video editing software. This foundational step determines the quality and complexity of effects you can create, making it crucial to choose wisely and set up your workspace effectively.
Beginners have several excellent software options that provide robust visual effects capabilities without overwhelming complexity. Professional grade tools like Adobe Premiere Pro, DaVinci Resolve, and Final Cut Pro X offer comprehensive feature sets for aspiring visual effects creators. For those just starting, free or lower cost alternatives like Davinci Resolve provide powerful editing capabilities without significant financial investment.
When setting up your software, focus on creating an organized and efficient workspace. Start by downloading your chosen software from the official website and completing the installation process. During installation, ensure your computer meets the minimum system requirements. Most professional video editing tools require a relatively powerful computer with dedicated graphics processing, substantial RAM (at least 16GB recommended), and sufficient storage space for video files.
After installation, take time to customize your workspace. Learn keyboard shortcuts, configure preview settings, and explore the software interface. Spend an hour familiarizing yourself with basic functions like importing footage, creating timelines, and understanding the different panels and windows. Many software platforms offer comprehensive tutorial series directly within the application or through their official YouTube channels.
Key configurations to prioritize include:
- Setting your preferred color space and bit depth
- Configuring audio input and output settings
- Establishing default project settings that match your typical video resolution
- Creating custom keyboard shortcuts for frequently used actions
Remember that mastering video editing software is a gradual process. Patience and consistent practice will transform initial confusion into confident navigation. Your goal in this first step is not perfection but establishing a functional workspace where you can begin experimenting with visual effects techniques.
The following table provides a step overview of the main stages of the beginner visual effects workflow, with goals and tips for each step.
| Step | Goal | Key Tip or Focus |
|---|---|---|
| Set Up Video Editing Software | Establish your VFX workspace and configure software | Prioritize workspace organization and shortcuts |
| Gather Visual Assets and Tools | Build your resource library for creative work | Focus on asset quality over quantity |
| Create Basic Visual Effects Using Templates | Learn VFX basics and experiment with effects | Select customizable, well-organized templates |
| Integrate Visual Effects into Your Video | Seamlessly blend effects into your footage | Match lighting, color, and movement precisely |
| Preview and Fine-Tune Your Effects | Refine and polish VFX for professional-quality output | Use frame-by-frame review for precision |
| Export and Share Your Final Video | Share your finished project with optimal quality | Make platform-specific exports if needed |
Step 2: Gather Visual Assets and Tools
As you progress in your visual effects journey, gathering the right assets and tools becomes crucial for creating compelling and professional looking videos. This step transforms your editing workspace from a blank canvas into a dynamic creative environment ready for visual storytelling.
Beginning visual effects artists need a comprehensive collection of resources that include high quality stock footage, background images, green screen clips, and texture overlays. Platforms like Artgrid offer extensive libraries of royalty free visual assets specifically designed for video production and visual effects work. When selecting assets, prioritize materials with high resolution and clean edges that integrate seamlessly into your projects.
Your toolkit should include several essential categories of visual assets. Background plates provide foundational environments for complex compositions, while motion graphics elements add dynamic visual interest. Texture overlays like smoke, fire, and particle effects enable you to create complex visual transformations. Green screen footage allows for advanced compositing techniques, letting you replace backgrounds and create impossible scenes.
Organization is critical when building your visual effects asset library. Create a structured folder system categorizing assets by type, resolution, and potential usage. Use consistent naming conventions that make searching and retrieving specific assets quick and intuitive. Consider investing in an external hard drive dedicated to storing large video files and visual assets, ensuring your primary computer maintains optimal performance.
Key assets to collect include:
- High resolution background plates
- Green screen footage
- Particle and atmospheric effect clips
- Texture and overlay elements
- Motion graphic templates
Remember that building a comprehensive asset library is an ongoing process. Start with a modest collection and continuously expand your resources as you develop more advanced visual effects skills. Quality matters more than quantity, so focus on acquiring versatile, professional grade assets that can be used across multiple projects.
Here is a summary table of essential visual assets and tools for beginner visual effects artists, including their purpose and considerations for selection.
| Asset/Tool | Purpose | Selection Considerations |
|---|---|---|
| Background Plates | Create foundational environments | High resolution, matches intended scene |
| Green Screen Footage | Enable background replacement and advanced VFX | Clean edges, good lighting, proper format |
| Particle & Atmospheric Clips | Add elements like smoke, fire, particles | High quality, transparent background preferred |
| Texture and Overlay Elements | Produce complex transformations and stylization | Subtle and versatile, professional grade |
| Motion Graphic Templates | Apply animations and dynamic elements | Flexible customization, organized layers |
| External Storage | Store large video files and assets safely | Sufficient capacity, fast connection (USB 3.0+) |
| Structured Folder System | Organize assets for quick access and efficiency | Consistent naming, categorized by type/resolution |
Step 3: Create Basic Visual Effects Using Templates
Templates serve as an essential launching pad for beginners learning visual effects, providing structured frameworks that demystify complex creative processes. By utilizing pre designed templates, you can rapidly prototype visual effects while understanding underlying techniques and design principles.
Professional visual effects templates offer comprehensive starting points across multiple effect categories. Platforms like Motion Array provide extensive template libraries covering transitions, lower thirds, particle effects, and animated backgrounds. These resources enable newcomers to deconstruct professional visual techniques by examining how expert designers construct intricate visual compositions.
When selecting templates, focus on those that offer customization flexibility. Look for templates with clearly organized layers, allowing you to modify individual components without disrupting the entire effect. Analyze the template's structure by examining how different visual elements interact, paying close attention to keyframe animations, blend modes, and compositing techniques. This analytical approach transforms template usage from mere copying into a genuine learning experience.
Beginning with simple templates helps build confidence and technical understanding. Start by importing a template into your video editing software, then systematically replace placeholder graphics with your own visual assets. Experiment with color grading, adjust timing parameters, and modify animation speeds to personalize the effect. Understanding how small adjustments create dramatically different visual outcomes is key to developing your creative skills.
Key considerations when working with templates include:
- Selecting templates matching your specific visual style
- Ensuring template resolution matches your project requirements
- Checking licensing terms for commercial usage
- Analyzing template construction techniques
- Gradually reducing template dependency as your skills improve
Remember that templates are educational tools, not permanent crutches. As you become more comfortable, begin deconstructing templates to understand their underlying mechanics. This approach transforms template usage from a shortcut into a comprehensive learning strategy, gradually building the technical skills needed to create original visual effects from scratch.
Step 4: Integrate Visual Effects into Your Video Project
Integrating visual effects transforms raw footage into a compelling narrative, requiring careful planning and strategic execution. This critical stage bridges technical skill with creative vision, demanding precision and artistic sensitivity to blend effects seamlessly into your video project.
Compositing techniques form the foundation of successful visual effects integration. Begin by establishing a clear hierarchy of visual layers, understanding how different elements interact within your video frame. Adobe Creative Cloud tutorials recommend creating dedicated composition layers that allow independent manipulation of visual elements without disrupting the entire project structure.
Careful color matching becomes paramount when integrating visual effects. Examine the original footage's color temperature, saturation, and lighting conditions, then adjust your effects to match these characteristics precisely. Professional visual effects artists often use color grading tools to create subtle color corrections that make digital elements appear naturally embedded within the original scene. Pay special attention to shadow details, light reflection, and edge blending to prevent effects from looking artificially superimposed.
Timing and motion synchronization represent another crucial integration aspect. Visual effects must move in harmony with underlying footage, maintaining realistic movement and perspective. Utilize keyframe animation techniques to create smooth transitions, ensuring that added effects follow the natural motion of original video elements. Experiment with subtle motion blur and depth of field adjustments to enhance the perceived realism of your visual effects.
Key integration strategies include:
- Matching lighting conditions between original footage and effects
- Creating smooth motion transitions
- Preserving original video perspective
- Maintaining consistent color grading
- Using mask and rotoscoping techniques for precise element blending
Remember that subtlety often distinguishes professional visual effects from amateur attempts. Your goal is not to overwhelm viewers with complex graphics but to enhance storytelling through seamless, almost invisible visual enhancements.
 Practice patience and develop a critical eye for detail, constantly reviewing your work from a viewer's perspective to ensure each effect serves the broader narrative purpose.
Step 5: Preview and Fine-Tune Your Effects
Previewing and fine-tuning visual effects represents the critical refinement stage where technical precision meets creative vision. This pivotal step transforms your initial visual effect concepts into polished, professional quality compositions that captivate viewers and communicate your artistic intent with clarity and impact.
Professional video editing requires meticulous attention to detail during the preview process. Utilize your software's DaVinci Resolve full screen preview mode to examine your visual effects at maximum resolution, checking for subtle imperfections that might escape casual observation. Enable high quality rendering settings during preview to ensure you are seeing the most accurate representation of your work.
Careful frame by frame analysis becomes essential when fine-tuning visual effects. Zoom into specific sections of your composition, examining edge blending, color transitions, and motion synchronization. Use your editing software's scrubbing tools to move slowly through challenging sequences, identifying and correcting minute inconsistencies that could compromise the overall visual quality. Pay particular attention to areas where digital effects intersect with original footage, ensuring seamless integration and realistic movement.
Color grading and contrast adjustments play a crucial role in effect refinement. Experiment with subtle color corrections that enhance the perceived realism of your visual effects. Adjust brightness, saturation, and contrast levels to create visual cohesion between added effects and original footage. Professional visual effects artists often create multiple preview versions, comparing different refinement approaches to determine the most compelling final result.
Key preview and fine-tuning strategies include:
- Checking effects at full resolution
- Analyzing frame by frame transitions
- Examining edge blending quality
- Verifying color and lighting consistency
- Creating multiple preview iterations
Remember that great visual effects often become invisible when executed perfectly. Your goal is not to draw attention to the effects themselves, but to enhance the storytelling and visual experience. Develop patience and a critical eye, understanding that refinement is an iterative process requiring multiple passes and careful observation.
Step 6: Export and Share Your Final Video
Exporting and sharing your final video represents the culmination of your visual effects journey, transforming hours of creative work into a shareable digital masterpiece. This critical final step bridges your artistic vision with potential audiences, requiring strategic decisions about file format, quality, and distribution channels.
Selecting the optimal export settings determines your video's visual quality and compatibility. Vimeo's Video Compression Guide recommends exporting in high quality MP4 format with H.264 codec, which provides an excellent balance between file size and visual fidelity. Choose resolution settings that match your project's original quality typically 1080p for professional presentations or 4K for high end productions. Adjust bitrate settings to ensure crisp image quality without creating unnecessarily large file sizes.
Before final export, conduct a comprehensive final review of your project. Render a test version and watch it completely to verify that all visual effects render correctly and no unexpected artifacts appear during playback. Check audio synchronization, color consistency, and overall visual flow. Professional creators often create multiple export versions with slightly different settings to compare and select the most optimal output.
Distribution strategy plays a crucial role in how your video will be perceived. Different platforms have unique requirements for video uploads. Social media platforms like YouTube and Instagram have specific compression algorithms that might alter your video's original quality. Consider creating platform specific versions that are optimized for each distribution channel, potentially reducing resolution or adjusting aspect ratios to maximize viewer experience.
Key export and sharing considerations include:
- Selecting appropriate file format (MP4 recommended)
- Matching export settings to intended distribution platform
- Verifying visual and audio quality after export
- Creating platform specific video versions
- Checking file size for easy sharing
Remember that your exported video is the final representation of your creative work. Take time to ensure every detail meets your artistic standards. The export process is not just a technical step but the final artistic statement that represents your visual effects skills and creative vision.
Transform Your Visual Effects Journey With AI-Powered Simplicity
Struggling with the steep learning curve of professional video editing software and time-consuming scene management? The journey from importing visual assets to fine-tuning your effects can feel overwhelming, especially if you want to create cinematic videos without spending months mastering every tool. If setting up workspaces, choosing the right templates, or integrating effects eats up your creative energy, it is time for a smarter approach.

Imagine turning your ideas or images into polished, cinematic videos with just a simple prompt. With Palmedor.ai, you can skip the tedious setup and embrace AI-driven storytelling. Our platform handles script generation, automated editing, and seamless rendering, so you can focus on your vision rather than technical barriers. Whether you want to produce stunning brand films, social content, or narrative videos, Palmedor.ai empowers creators of any experience level. If you are ready for faster workflows and professional quality results, discover how our AI video maker works and start creating stunning visuals right now. The quickest way to upgrade your video production starts here.
Frequently Asked Questions
What video editing software is recommended for beginners in visual effects?
For beginners, software like Adobe Premiere Pro, DaVinci Resolve, and Final Cut Pro X are highly recommended. DaVinci Resolve offers powerful capabilities for free, making it a great option for those just starting out.
How can I organize my visual effects assets effectively?
To organize your visual effects assets, create a structured folder system categorizing them by type, resolution, and usage. Consistent naming conventions will also help make searching and retrieving assets much quicker.
What are the key factors to consider when integrating visual effects into a video project?
When integrating visual effects, focus on matching lighting conditions, creating smooth motion transitions, preserving the original video perspective, and maintaining consistent color grading for a seamless blend.
How do I ensure the best quality during the export of my final video?
Select high-quality export settings, such as MP4 format with H.264 codec. Always conduct a final review of your project and create platform-specific versions for optimal distribution across different channels.