Master Storyboarding for Beginners: Create Compelling Visual Narratives
Learn storyboarding for beginners with this step-by-step guide to craft visual narratives that captivate audiences and enhance storytelling.
Master Storyboarding for Beginners: Create Compelling Visual Narratives
Storyboarding is the secret backbone behind every memorable video and campaign. A clear set of project goals can make or break the entire creative process, shaping whether your message hits home or falls flat. Most people think you need fancy tools or artistic talent to start. Actually, the key to effective storyboarding is simple—just knowing your audience and having a clear purpose will set you ahead of most beginners.
Table of Contents
- Step 1: Define Your Project Goals And Audience
- Step 2: Gather Necessary Materials And Tools
- Step 3: Sketch Initial Concepts And Scenes
- Step 4: Organize Your Storyboard Layout
- Step 5: Review And Revise Your Storyboard
- Step 6: Finalize Your Storyboard For Production
Quick Summary
| Key Point | Explanation |
|---|---|
| 1. Define project goals clearly | Establishing clear objectives guides your visual storytelling and shapes creative decisions effectively. |
| 2. Understand your audience deeply | Creating detailed audience personas enhances the connection between your content and its intended viewers. |
| 3. Organize storyboard layout efficiently | A consistent panel structure facilitates a coherent visual narrative that is easy to follow and understand. |
| 4. Revise thoroughly for clarity | Reviewing your storyboard helps identify and fix gaps or unclear transitions, improving overall storytelling quality. |
| 5. Finalize with technical precision | A polished storyboard with detailed annotations serves as a comprehensive guide for the production team. |
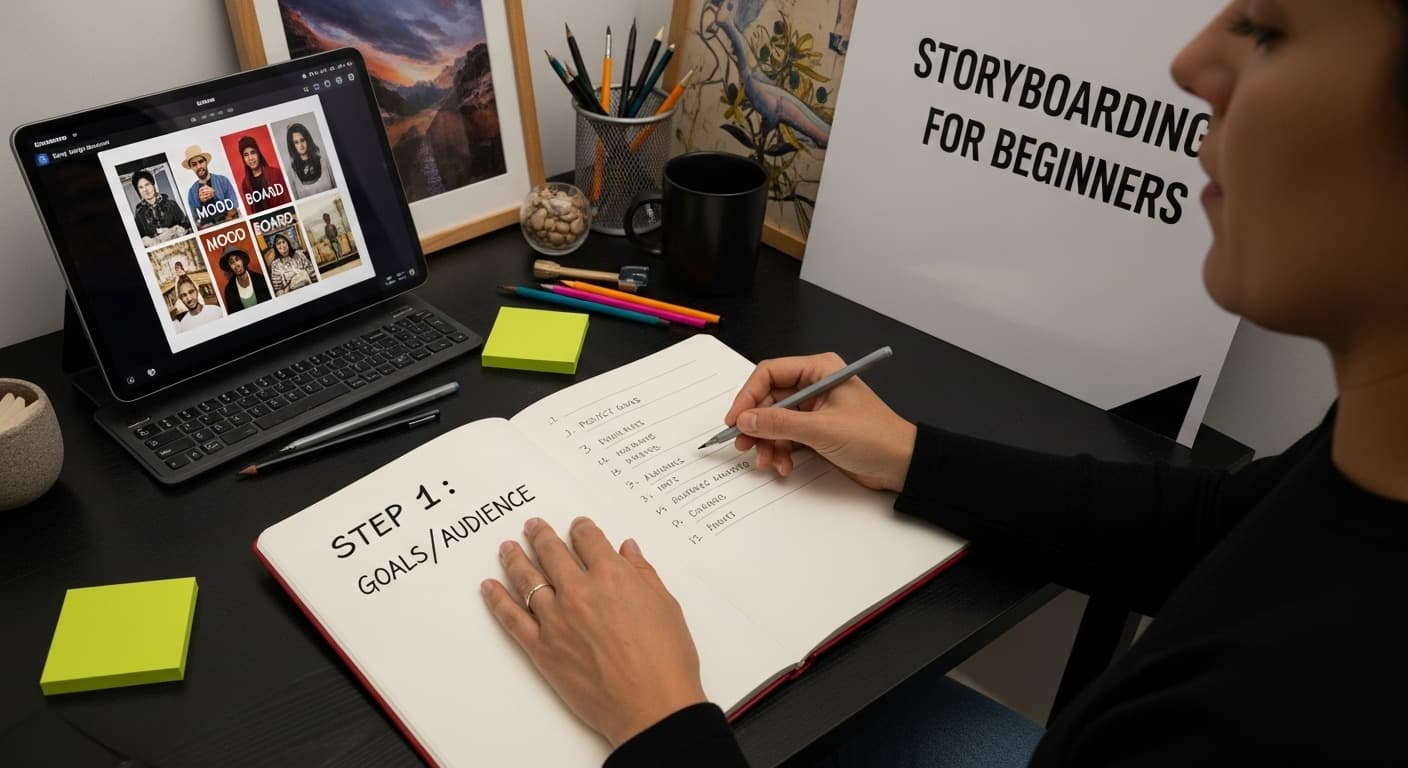
Step 1: Define Your Project Goals and Audience
Before diving into storyboarding for beginners, understanding your project's foundational elements is crucial. Successful visual storytelling starts with crystal clear objectives and a deep comprehension of who will engage with your content. Your project goals will serve as the compass guiding every creative decision in your storyboard.
Begin by conducting a focused assessment of your project's purpose. Are you creating a marketing video, an educational tutorial, a narrative film, or a social media campaign? Each type of visual content demands a unique storytelling approach. Consider the core message you want to communicate and the emotional response you aim to evoke in your audience.
Audience research becomes your next critical step. Understanding your target demographic involves more than basic demographics. You need to explore their preferences, pain points, and communication styles. According to research from the University of Delaware, effective storyboarding helps clarify project focus and visualize representation across different modalities.
When defining your audience, create a detailed persona that goes beyond surface-level characteristics. What are their interests? What motivates them? What visual language resonates with them? This deep understanding will inform your storyboard's visual and narrative choices, ensuring your content speaks directly to your intended viewers.
Establish concrete, measurable objectives for your project. These might include engagement metrics, learning outcomes, conversion rates, or emotional impact. Specific goals transform your storyboard from a creative exercise into a strategic communication tool. By articulating precise expectations, you create a roadmap that guides your visual narrative from concept to completion.
Before moving forward, verify your project goals by asking these key questions:
- Does my project have a clear, singular purpose?
- Can I describe my target audience in detailed, specific terms?
- Have I identified the primary emotional or informational response I want to generate?
Successful storyboarding begins with this foundational groundwork. By investing time in defining your project goals and understanding your audience, you set the stage for a compelling, targeted visual narrative that connects authentically with your viewers.
Step 2: Gather Necessary Materials and Tools
Preparing for your storyboarding journey requires assembling the right toolkit that will transform your creative vision into a tangible visual narrative. The materials you choose can significantly impact your storytelling efficiency and creative expression. Unlike complex professional setups, beginners can start with simple, accessible tools that support clear communication and creative exploration.
Traditional storyboarding often begins with analog materials. A large sketchbook or drawing pad serves as your primary canvas. Select one with blank or lightly gridded pages that provide enough space for detailed scene sketches. Pair this with a collection of drawing implements: mechanical pencils for precise lines, colored pencils for adding depth, and erasers for refining your concept. Some creators prefer fine-tip markers or felt-tip pens for bold, definitive sketches that capture scene dynamics quickly.
According to research from Cornell University, digital alternatives have become increasingly popular for storyboarding. Graphic tablets like Wacom or digital drawing applications such as Procreate, Adobe Sketch, or Storyboarder offer flexible platforms for creators comfortable with technology. These tools allow for easy editing, layering, and quick revisions that traditional paper methods cannot match.
Consider your project's specific requirements when selecting tools. A narrative film might demand more intricate, detailed sketches, while a social media advertisement could benefit from quick, minimalist representations. Versatility is key in your tool selection. Some digital platforms even provide pre-made storyboard templates that help structure your visual narrative consistently.
Additional recommended materials include:
- Ruler or straight edge for creating clean panel borders
- Color swatches or a color wheel for consistent visual planning
- Reference images or mood boards to inspire scene composition
Before moving forward, verify your toolkit by asking these critical questions:
- Do I have multiple drawing/sketching tools?
- Can I comfortably represent my scenes using these materials?
- Have I selected tools that match my project's complexity?
Remember, the goal is not perfection but clear communication. Your storyboard is a blueprint, a visual script that guides your entire creative process. Choose tools that feel natural and help you express your narrative vision most effectively.
Below is a table summarizing the essential tools and materials for storyboarding, along with their purpose and relevant notes for beginners.
| Tool/Material | Purpose | Notes |
|---|---|---|
| Sketchbook/Drawing Pad | Main canvas for scene sketches | Prefer blank or lightly gridded pages |
| Mechanical Pencils | Drawing precise lines for initial sketches | Good for detailing and easy correction |
| Colored Pencils | Adding depth and emphasis to sketches | Useful for highlighting key elements |
| Eraser | Refining and correcting sketches | Helps adjust mistakes during planning |
| Fine-tip Markers/Pens | Bold, definitive sketching of scene details | Ideal for strong outlines and clarity |
| Ruler/Straight Edge | Creating clean, consistent panel borders | Supports neat and organized layouts |
| Graphic Tablet/Drawing App | Digital sketching and revision | Options: Wacom, Procreate, Storyboarder |
| Reference Images/Mood Boards | Inspiring composition and style choices | Supports scene visualization |
![]()
Step 3: Sketch Initial Concepts and Scenes
Transitioning from project planning to visual representation, sketching initial concepts marks the heart of storyboarding for beginners. This step transforms abstract ideas into tangible visual narratives. Think of your initial sketches as rough diamonds waiting to be polished into compelling storytelling gems.
Start by breaking down your project's narrative into fundamental scenes. Do not aim for artistic perfection but focus on capturing essential visual information. Rough stick figures and simple geometric shapes can effectively communicate character positioning, movement, and scene composition. Quick, loose sketches allow you to explore multiple creative directions without getting bogged down in intricate details.
According to Carleton College's multimedia guidelines, effective storyboarding involves creating a visual blueprint that communicates your project's core narrative. Begin by drawing rectangular panels representing individual scenes or shots. Each panel should convey a specific moment, emotion, or action critical to your storytelling progression.
Consider the visual flow and sequence of your scenes. How will one panel transition to the next? What visual cues will guide your audience's understanding? Experiment with different perspectives, camera angles, and compositional techniques. A wide establishing shot might introduce a location, while a close-up could capture a character's emotional nuance.
Key elements to include in each scene sketch:
- Character positioning and movement
- Primary action or emotional focus
- Approximate camera angle or perspective
- Rough environmental or background elements
Before moving forward, verify your initial concept sketches by asking these critical questions:
- Do my sketches clearly communicate the narrative progression?
- Can someone unfamiliar with the project understand the basic story?
- Have I captured the essential emotional beats of each scene?
Remember, these initial sketches are exploratory. Embrace imperfection and view each drawing as a step toward refining your visual narrative. Your first attempt need not be a masterpiece but should effectively communicate your creative vision. Iteration and continuous refinement are the hallmarks of compelling storyboard development.
Step 4: Organize Your Storyboard Layout
With initial sketches complete, the next critical phase of storyboarding involves creating a structured, purposeful layout that transforms scattered ideas into a cohesive visual narrative. Your storyboard layout is the architectural blueprint that will guide your entire creative process, translating conceptual fragments into a clear, communicative sequence.
Begin by establishing a consistent panel structure that supports your storytelling objectives. Standard storyboard layouts typically use rectangular frames representing individual scenes, arranged sequentially to demonstrate narrative progression. Consider the aspect ratio matching your final medium - vertical panels for social media content, wider horizontal frames for cinematic presentations. Consistency in panel size and spacing creates visual rhythm and helps viewers understand the story's flow.
According to Digital.gov's storytelling guidelines, effective storyboards must convey action through static images. This means each panel should not just represent a moment but communicate the energy and momentum between scenes. Think of your layout as a visual script, where each frame builds upon the previous one, creating a seamless narrative experience.
Implement a systematic numbering or labeling system for your panels. This organizational approach helps track scene progression, facilitates communication with team members, and provides a clear reference point during production. Number panels chronologically and consider adding brief annotations describing key actions, dialogue, or technical notes directly adjacent to each frame.
Essential layout considerations include:
- Maintaining consistent panel dimensions
- Ensuring clear visual progression
- Creating space for technical annotations
- Matching aspect ratio to final production medium
Before finalizing your layout, verify its effectiveness by asking these critical questions:
- Does each panel clearly communicate its narrative purpose?
- Can someone unfamiliar with the project understand the story's progression?
- Have I created enough visual context between scenes?
Your storyboard layout is more than a technical document - it's a visual language that bridges imagination and execution. Approach it with intention, creativity, and a focus on clear, compelling storytelling.

Step 5: Review and Revise Your Storyboard
Reviewing and revising your storyboard transforms a rough draft into a polished visual narrative. This critical stage separates amateur attempts from professional storytelling, requiring a disciplined and objective approach to refining your creative work. Think of this process as sculpting your initial concept into its most compelling form.
Begin by stepping back and viewing your entire storyboard as a complete narrative experience. Assess the overall flow, looking for potential gaps in storytelling, unclear scene transitions, or moments that disrupt the emotional trajectory. Great storyboards tell a seamless story where each panel naturally leads to the next, creating an intuitive visual journey that captures and maintains audience engagement.
According to professional multimedia guidelines, effective revision involves multiple perspectives. Consider sharing your storyboard with trusted colleagues, mentors, or potential audience representatives. External feedback can reveal blind spots in your narrative that you might have overlooked. These fresh eyes can provide insights into scene clarity, emotional resonance, and storytelling effectiveness.
Technical refinement is equally crucial. Examine each panel critically for compositional balance, character positioning, and visual communication. Ensure that your sketches clearly convey the intended action, emotion, and narrative progression. Minor adjustments in perspective, framing, or detail can dramatically enhance the storytelling impact.
Key revision focus areas include:
- Narrative coherence and logical progression
- Visual clarity and scene communication
- Emotional trajectory and audience engagement
- Technical accuracy of scene representations
Before finalizing your storyboard, verify its quality by asking these critical questions:
- Does each scene contribute meaningfully to the overall story?
- Can someone unfamiliar with the project understand the narrative?
- Have I addressed all potential visual communication challenges?
Revision is not about achieving perfection but about continuous improvement. Embrace the iterative nature of storyboarding, understanding that each review brings you closer to a compelling visual narrative that effectively communicates your creative vision.
This checklist table helps you verify key questions and criteria at each main stage of the storyboarding process before proceeding.
| Stage | Key Verification Questions |
|---|---|
| Define Goals & Audience | 1. Is there a clear, singular purpose? 2. Is the target audience described in detail? 3. Is the desired response identified? |
| Gather Materials & Tools | 1. Are multiple drawing tools available? 2. Can scenes be represented comfortably? 3. Do tools match the project complexity? |
| Sketch Initial Concepts & Scenes | 1. Do sketches communicate narrative progression? 2. Is the story clear to an outsider? 3. Are key emotional beats captured? |
| Organize Storyboard Layout | 1. Does each panel have a clear narrative purpose? 2. Is progression understandable to others? 3. Is context consistent? |
| Review & Revise | 1. Does each scene add to the story? 2. Is the narrative clear to new viewers? 3. Are communication challenges addressed? |
| Finalize for Production | 1. Can teams understand the narrative? 2. Is all technical info included? 3. Is the creative vision effectively communicated? |
Step 6: Finalize Your Storyboard for Production
Transitioning from creative exploration to professional execution, finalizing your storyboard requires precision, technical detail, and strategic preparation. This critical stage transforms your visual narrative from a conceptual draft into a comprehensive production blueprint that will guide your entire creative team through the upcoming project phases.
Begin by creating a clean, professional version of your storyboard that communicates complex narrative information with clarity and intentionality. Upgrade your initial sketches by refining line work, adding color annotations, and incorporating detailed technical notes. Professional storyboards should provide comprehensive information about camera angles, scene transitions, character movements, and critical visual elements that will inform production decisions.
According to digital storytelling guidelines, effective finalization involves creating a document that serves multiple production roles. Your storyboard must now function as a communication tool for directors, cinematographers, designers, and other team members. This means developing a consistent visual language that everyone can understand and interpret accurately.
Include comprehensive technical annotations that provide context beyond visual sketches. These might involve precise timing estimates, dialogue suggestions, sound design considerations, or specific lighting requirements. Detailed documentation transforms your storyboard from a creative concept into an actionable production manual. Consider using color coding or standardized symbols to quickly communicate complex technical information across different production departments.
Essential finalization elements include:
- Precise panel numbering and scene sequencing
- Detailed technical annotations
- Comprehensive production notes
- Clear visual representation of narrative progression
Before submitting your storyboard, verify its production readiness by asking these critical questions:
- Can a production team understand the entire narrative from these panels?
- Have I included all necessary technical information?
- Does the storyboard communicate the project's creative vision?
Your finalized storyboard is more than a document - it's the blueprint that will bring your creative vision to life. Approach this stage with professionalism, attention to detail, and a commitment to clear, comprehensive visual storytelling.
Transform Your Storyboards Into Stunning Videos Instantly
You spent the time defining goals, researching your audience, and refining your storyboard—yet turning those compelling sketches into professional videos can be overwhelming. Many creators and beginners feel stuck at this step, frustrated by complex editing tools, technical workflows, or the gap between concept and finished product. If you want your visual narrative to leap off the page and captivate viewers, now is the moment to act.

Bring your storyboards to life with Palmedor.ai, the AI-powered solution designed for creators who value both quality and efficiency. Upload your rough scenes, describe your vision, or use simple prompts—then let the platform automatically generate cinematic videos in minutes. Experience smart script generation, scene management, and output customization for any project size. Explore how other creators have bridged the gap between planning and production in our FAQ section or browse our inspirational examples for more ideas. Stop wrestling with complicated software. Visit Palmedor.ai now and see your storyboarded stories become polished, share-ready videos today.
Frequently Asked Questions
What are the key steps in storyboarding for beginners?
Storyboarding for beginners involves six key steps: defining project goals and audience, gathering necessary materials and tools, sketching initial concepts and scenes, organizing your storyboard layout, reviewing and revising, and finalizing your storyboard for production.
What materials do I need to start storyboarding?
To start storyboarding, you can use simple materials like a sketchbook, mechanical pencils, colored pencils, and erasers. Digital alternatives such as graphic tablets and drawing applications can also be effective for those comfortable with technology.
How do I effectively sketch initial concepts for my storyboard?
Begin by breaking your narrative into fundamental scenes, using simple shapes and stick figures to capture essential details without focusing on perfection. This approach allows for quick exploration of creative directions and scene compositions.
What is the importance of reviewing and revising my storyboard?
Reviewing and revising your storyboard is crucial as it helps in identifying gaps in storytelling, unclear transitions, and enhancing the narrative's emotional trajectory. This process ensures that each panel contributes meaningfully to the overall story, improving clarity and engagement.