Master Professional Video Editing in 2025: A Step-by-Step Guide
Learn professional video editing with this step-by-step guide, covering everything from setup to final review for effective video content creation.
Master Professional Video Editing in 2025: A Step-by-Step Guide
Professional video editing has exploded in demand and now more than 90 percent of top-performing online content relies on skilled editing for its success. Most people think the magic happens with flashy effects or high-end cameras. The real secret starts with how you set up and manage your workflow long before you even touch the footage.
Table of Contents
- Step 1: Set Up Your Video Editing Software And Equipment
- Step 2: Gather And Organize Your Video Footage
- Step 3: Edit Your Video Clips With Precision And Creativity
- Step 4: Enhance Your Video With Audio And Visual Effects
- Step 5: Review And Optimize Your Final Video For Quality
- Step 6: Export And Share Your Professional Video Content
Quick Summary
| Key Point | Explanation |
|---|---|
| 1. Choose Suitable Editing Software | Evaluate your needs and hardware capabilities when selecting software for professional video editing to ensure optimal performance. |
| 2. Organize Footage Thoroughly | Consolidate your video sources in a structured folder system to streamline your editing process and reduce workflow disruptions. |
| 3. Apply Editing Techniques Effectively | Use precise cutting, transitions, and pacing to enhance the narrative of your video while maintaining viewer engagement. |
| 4. Optimize Audio and Visual Effects | Implement effects sparingly to support the story, focusing on color grading and sound design for a polished final product. |
| 5. Verify and Export with Care | Conduct thorough reviews to ensure quality and meet platform specifications before exporting your video for distribution. |
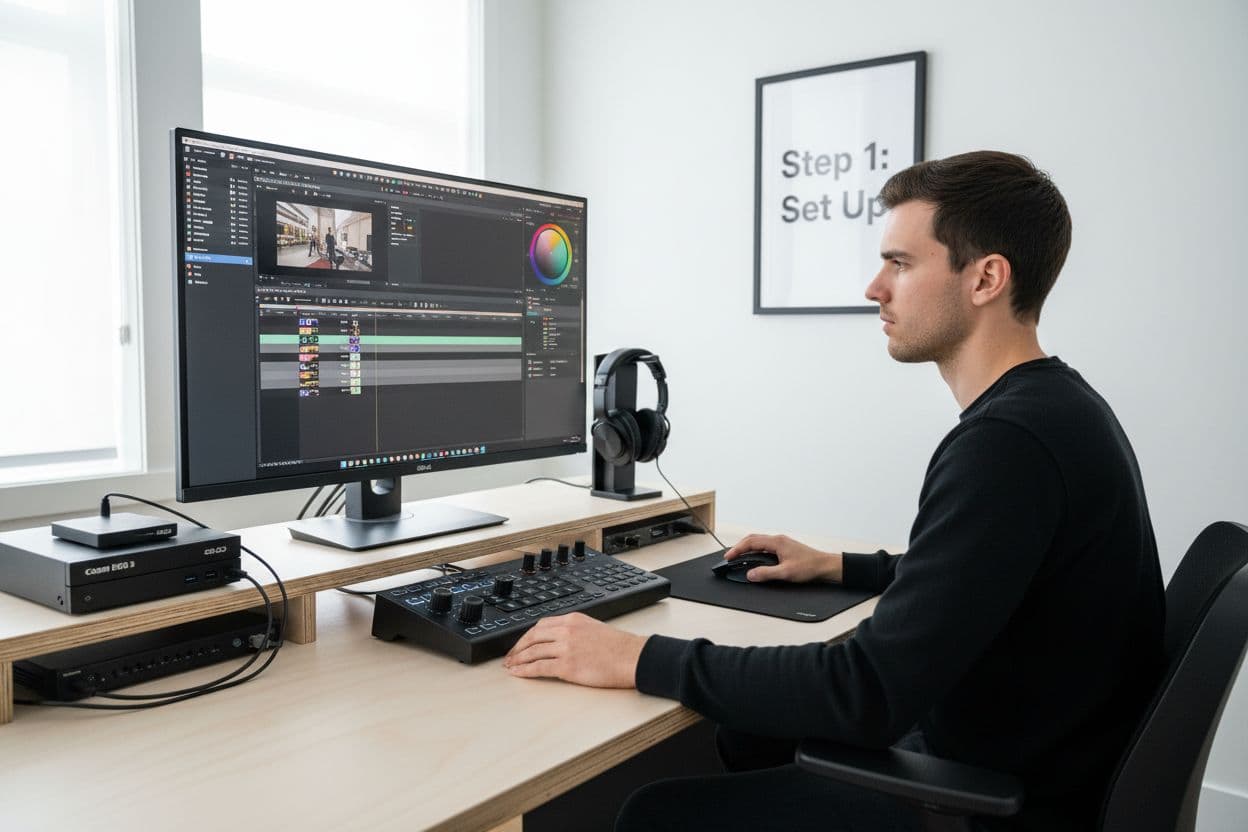
Step 1: Set Up Your Video Editing Software and Equipment
Professional video editing begins with creating a robust technical foundation that enables smooth, efficient content production. Your initial setup determines the quality and speed of your future editing workflow, making this first step critical for success.
Selecting the right video editing software requires careful consideration of your specific needs and technical capabilities. Professional grade editing platforms like Adobe Premiere Pro, Final Cut Pro X, and DaVinci Resolve offer comprehensive tools for creators at different skill levels. When choosing software, evaluate factors such as your computer's processing power, budget, and specific project requirements.
Your computer hardware plays an equally crucial role in professional video editing performance. A powerful system with dedicated graphics processing, substantial RAM, and fast storage drives ensures smooth rendering and editing experiences. Key hardware recommendations include:
- A computer with at least 16GB RAM (32GB recommended)
- Dedicated graphics card with minimum 4GB video memory
- SSD storage for faster file access and rendering
- High resolution monitor with color calibration capabilities
Connecting essential peripherals completes your professional video editing setup. Consider investing in a precision mouse or editing controller that provides tactile control during complex editing sequences. A color calibrated monitor ensures your visual output matches professional standards, preventing unexpected color shifts between editing and final rendering.
Preparing backup systems and storage solutions protects your work and maintains professional workflow integrity. Configure an external hard drive or cloud storage system to regularly archive project files and raw footage. This practice prevents potential data loss and provides flexibility for future project modifications.
Verify your setup by running a comprehensive system test within your chosen editing software. Most professional platforms offer hardware compatibility checks that simulate rendering and editing scenarios. Successfully passing these diagnostic tests confirms your equipment is properly configured for professional video editing tasks.
Step 2: Gather and Organize Your Video Footage
Successful professional video editing starts with meticulous footage collection and organization. This foundational step transforms raw visual content into a structured resource ready for creative manipulation. Systematic footage management prevents potential workflow disruptions and ensures efficient editing processes.
Begin by consolidating all video sources into a centralized location. Whether you have footage from professional cameras, smartphones, or external recording devices, transfer files to a dedicated project folder on your primary editing storage drive. Use consistent naming conventions that include date, project name, and sequence number to simplify future retrieval. For instance, "ProjectName_Date_Sequence01" provides immediate context about each video file.
Digital file management requires strategic categorization and backup protocols. Create a comprehensive folder structure that segments your footage logically:
- Raw Footage Folder
- Edited Sequences Folder
- Audio Files Folder
- Reference Materials Folder
Quality control becomes paramount when preparing footage for editing. Review each video clip systematically, checking for technical issues like focus inconsistencies, exposure variations, or audio irregularities. Professional editors typically perform an initial screening to identify and potentially remove unusable segments before serious editing commences.
Metadata management elevates your organizational approach. Modern video editing software allows embedding detailed information directly into file properties. Include metadata such as shooting location, camera settings, talent names, and copyright information. This practice streamlines collaboration and provides comprehensive context for future project references.
Implement a robust backup strategy to protect your valuable footage. Create at least two additional copies of your entire project folder on separate storage devices. Cloud storage solutions offer an additional layer of protection against potential hardware failures. Consider using professional backup software that automates file synchronization and version tracking.
Verify your footage organization by conducting a comprehensive audit. Open each folder, confirm file integrity, review metadata completeness, and ensure all necessary clips are present. A well-organized footage library sets the stage for smooth, professional video editing workflow.
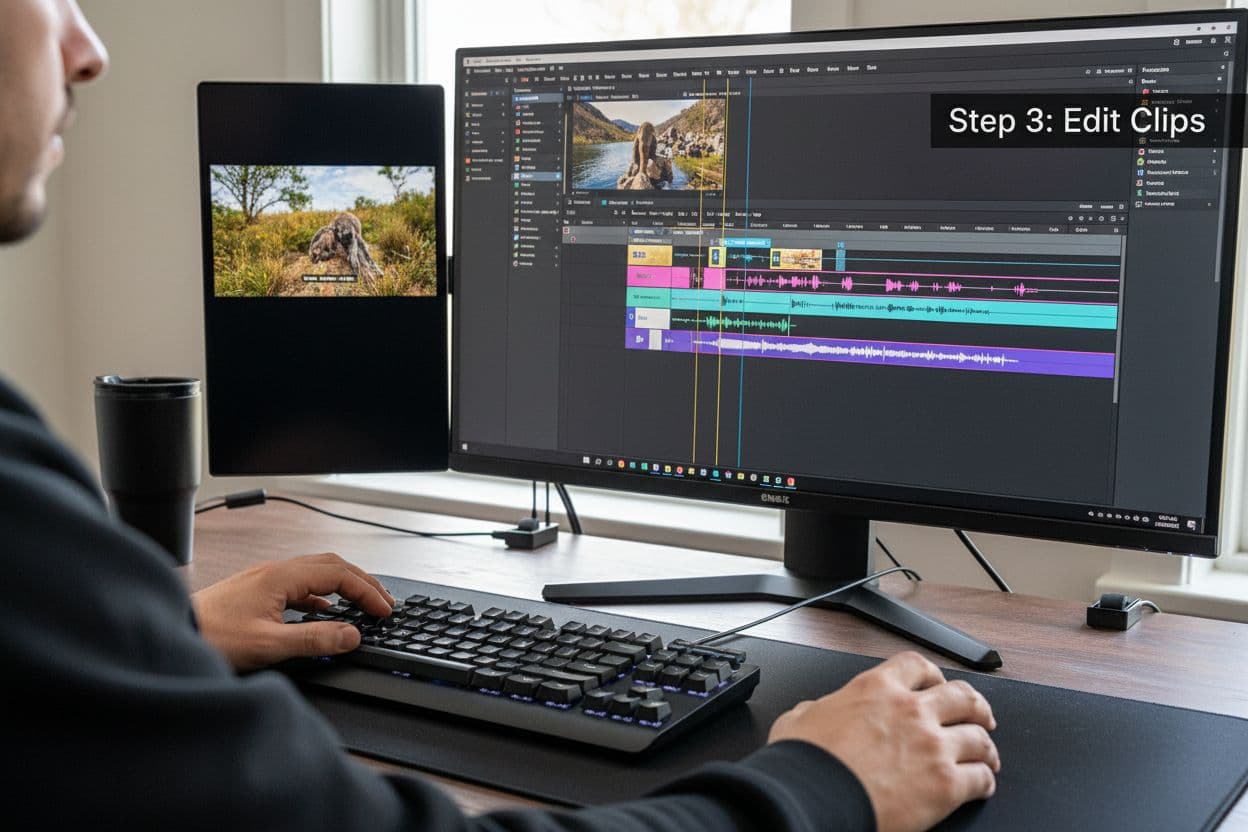
Step 3: Edit Your Video Clips with Precision and Creativity
Professional video editing transforms raw footage into compelling visual narratives through strategic clip selection and creative manipulation. This critical stage demands both technical skill and artistic vision, requiring editors to make precise decisions that enhance storytelling and visual impact.
Begin your editing process by establishing a clear sequence and narrative flow. Import your organized footage into the timeline, arranging clips chronologically or according to your predetermined storytelling structure. Pay close attention to visual continuity, ensuring smooth transitions between scenes that maintain viewer engagement. Understanding the relationship between different shots allows you to create a cohesive and dynamic visual experience.
Mastering fundamental editing techniques dramatically improves your video quality. Key editing strategies include:
- Trimming unnecessary footage to maintain narrative momentum
- Using split cuts and J-cuts for smoother audio transitions
- Adjusting clip speeds to create dramatic or comedic effects
- Implementing precise color grading for consistent visual aesthetics
Technical precision goes hand in hand with creative expression. Experiment with different editing techniques that complement your project's emotional tone. Subtle changes in clip duration, strategic use of slow motion, or unexpected juxtapositions can transform ordinary footage into extraordinary visual storytelling. Professional editors develop an intuitive sense of rhythm and pacing that elevates their work beyond mere technical assembly.
Audio integration represents another crucial aspect of professional video editing. Synchronize dialogue, integrate background music, and balance sound levels to create an immersive viewing experience. Use audio crossfades and levels adjustment tools to eliminate abrupt sound transitions and maintain consistent audio quality throughout your project.
Critical review becomes essential during the editing process. Step away from your project periodically to gain fresh perspective. Watch your edit multiple times, focusing on different aspects such as narrative flow, visual consistency, and emotional impact. Seek feedback from trusted colleagues or mentors who can provide objective insights into your creative choices.
Verify your edit by conducting a comprehensive review. Ensure all clips are properly aligned, audio is synchronized, and the overall narrative feels cohesive and engaging. A well-edited video should feel seamless, guiding viewers through a compelling visual journey without technical distractions.
Step 4: Enhance Your Video with Audio and Visual Effects
Transforming raw footage into a polished professional video requires strategic application of audio and visual effects. This critical stage elevates your project from basic editing to cinematic storytelling, adding depth, emotion, and technical sophistication to your visual narrative.
Visual effects serve as powerful storytelling tools that transcend simple image manipulation. According to Adobe Creative Cloud, these techniques allow editors to create immersive experiences by seamlessly blending technical precision with creative vision. Color grading becomes fundamental in establishing mood and visual consistency across your video. Adjust color temperature, saturation, and contrast to create a unified aesthetic that supports your narrative intent.
Audio enhancement represents another crucial dimension of professional video editing. Strategic sound design involves multiple layers of audio manipulation:
- Balancing dialogue clarity and background sounds
- Removing unwanted background noise
- Adding subtle sound effects for emotional emphasis
- Integrating music that complements the visual tone
Transitioning between different visual styles requires nuanced technical skill. Use keyframe animations to create smooth color transitions, gradually shifting visual palettes to reflect changing emotional states or narrative progression. Motion graphics can introduce dynamic text elements, informational overlays, or subtle visual punctuation that maintains viewer engagement.
Professional editors understand that visual and audio effects should never overwhelm the core narrative. Each effect must serve a specific storytelling purpose, whether highlighting emotional moments, providing contextual information, or guiding viewer attention. Subtle, intentional enhancements create more impactful viewing experiences than excessive, distracting manipulations.
Audio mixing demands equal precision. Layer different sound elements carefully, ensuring dialogue remains clear while background music and sound effects provide depth. Use audio compression and equalization tools to balance volume levels and create a professional, immersive soundscape.
Verify your audio and visual enhancements by conducting multiple review sessions. Watch your edited video with different audio outputs, check color rendering on multiple screens, and seek feedback from colleagues. A successful enhancement process creates a seamless viewing experience where technical elements support rather than distract from your core storytelling.
Step 5: Review and Optimize Your Final Video for Quality
The final stage of professional video editing transforms your raw project into a polished, distribution-ready masterpiece. This critical review process ensures technical excellence and visual coherence across every frame of your video, separating amateur productions from professional content.
Technical quality assessment requires systematic and comprehensive evaluation. Begin by reviewing your video at full resolution, examining each segment for potential imperfections. Pay meticulous attention to visual consistency, checking color balance, exposure levels, and overall image sharpness. Professional editors understand that seemingly minor technical flaws can significantly detract from viewer experience.
Key optimization criteria include:
- Checking video and audio synchronization
- Verifying color grading consistency
- Eliminating unnecessary visual or audio artifacts
- Ensuring smooth transition sequences
Rendering represents a pivotal technical moment in video production. Select appropriate export settings that balance file size and visual quality based on your intended distribution platform. Different platforms like YouTube, Vimeo, or broadcast television require specific technical specifications. Understand resolution, bitrate, and codec requirements to maintain professional standards.
Audio optimization demands equal precision. Conduct thorough sound checks using multiple audio systems and headphones to confirm consistent audio quality. Normalize volume levels, eliminate unexpected noise fluctuations, and ensure dialogue remains crisp and intelligible across different listening environments.
Quality control extends beyond technical metrics. Seek objective feedback from peers or professional colleagues who can provide fresh perspectives. External reviewers often identify subtle issues that creators might overlook after prolonged editing sessions. Consider organizing a small screening with trusted professionals who can offer constructive critiques.
Prepare multiple export versions tailored to different distribution channels. Create variants with varying resolutions and compression levels, allowing flexibility in content deployment. Professional video editing workflows prioritize adaptability, recognizing that a single video might require different technical specifications for social media, streaming platforms, and professional presentations.
Verify your final product by conducting comprehensive playback tests across multiple devices and screens. Confirm that your video maintains visual and audio integrity regardless of viewing context. A truly professional video seamlessly communicates its narrative while meeting the highest technical standards.
Below is a checklist summarizing the verification and review steps you should follow to ensure your final video project meets professional quality standards.
| Verification Step | Purpose | Completion Criteria |
|---|---|---|
| Review video at full resolution | Ensure technical and visual accuracy | No visible errors in playback |
| Confirm color grading and exposure | Maintain visual consistency and professional look | Uniform color and lighting throughout |
| Check audio synchronization | Guarantee dialogue and audio alignment | No audio lag/mismatch detected |
| Eliminate unnecessary artifacts | Remove distractions impacting quality | No glitches or distracting elements |
| Test transition sequences | Provide smooth viewing experience | Seamless transitions between scenes |
| Conduct peer or external review | Gain objective feedback and catch subtleties | Positive review and all issues resolved |
| Perform playback tests on multiple devices | Ensure compatibility and quality retention | Consistent appearance on all devices |
Step 6: Export and Share Your Professional Video Content
The culmination of professional video editing involves strategic export and distribution, transforming your meticulously crafted project into a viewable, shareable media asset. This final stage requires understanding technical specifications and platform-specific requirements that ensure optimal content presentation.
Export settings become crucial in maintaining the visual and audio quality developed throughout your editing process. Select appropriate file formats and codecs that balance file size and image resolution. Popular professional formats like H.264 for web content and ProRes for broadcast maintain high-quality standards while providing compatibility across multiple platforms.
Consider the following export optimization strategies:
- Match resolution to intended viewing platform
- Select appropriate bitrate for content type
- Embed metadata for easier content management
- Create multiple resolution versions
Understanding platform-specific requirements dramatically improves content performance. Social media platforms like YouTube, Vimeo, and Instagram have unique technical specifications that impact video quality and viewer experience. Tailor your export settings to match each platform's recommended parameters, ensuring your video appears crisp and professional across different devices and screen sizes.
Metadata management represents an often overlooked aspect of professional video sharing. Embed comprehensive information including creation date, copyright details, and descriptive tags. This practice enhances discoverability and provides context for viewers and potential collaborators. Professional content creators recognize metadata as a powerful tool for content organization and marketing.
Secure file storage and backup become essential during the export process. Create multiple copies of your original project file and exported video on different storage mediums. Cloud storage solutions and external hard drives provide redundant protection for your creative work, preventing potential loss from hardware failures.
Distribution strategies extend beyond simple file sharing. Consider creating platform-specific versions that leverage each channel's unique capabilities. Short-form clips for social media, full-resolution versions for professional portfolios, and compressed versions for email sharing demonstrate a sophisticated approach to content distribution.
Verify your exported video by performing comprehensive playback tests across multiple devices and platforms. Confirm that visual quality, audio clarity, and overall presentation meet your professional standards. A successful export transforms your creative vision into a shareable, impactful media asset ready for audience engagement.
Ready to Skip the Frustration of Traditional Editing?
Spending hours on software setup, manual scene assembly, and endless editing tweaks can drain your creativity and slow your growth as a creator. The article highlighted how professional video editing demands technical skill, endless organization, and constant reviews just to achieve a polished result. But what if you could turn your ideas into cinematic videos in minutes, without mastering complicated workflows or worrying about missing technical details?

With Palmedor.ai, you can focus on your vision and let our AI-driven platform handle the technical demands. Our powerful tools take your concepts or images and instantly generate professional-grade videos, with smart script generation, seamless scene management, and full customization for every format. Instead of losing time to hardware headaches or file backups, you get studio-quality results fast. Visit our Home Page to see just how easy video creation can be. Start turning your ideas into compelling videos now—because your creativity should not have to wait.
Frequently Asked Questions
What video editing software should I choose for professional editing?
Choosing the right video editing software depends on your needs and technical capabilities. Popular options include Adobe Premiere Pro, Final Cut Pro X, and DaVinci Resolve, each offering comprehensive tools suited for different skill levels.
What hardware specifications are recommended for video editing?
For optimal performance, it's recommended to have at least 16GB of RAM (32GB preferred), a dedicated graphics card with a minimum of 4GB video memory, SSD storage for faster access, and a high-resolution monitor with color calibration capabilities.
How can I organize my video footage effectively for editing?
To effectively organize your video footage, create a centralized project folder structure that includes categories like Raw Footage, Edited Sequences, Audio Files, and Reference Materials. Additionally, use consistent naming conventions for files to simplify future retrieval.
What should I consider when exporting my final video?
When exporting your final video, consider the appropriate file format and codec, match the resolution to the intended viewing platform, and embed metadata for easier content management. Ensure to conduct playback tests on multiple devices to confirm quality preservation.