How to Upload References for Flawless AI Video Creation
Learn how to upload references on Palmedor.ai with this step-by-step guide, making your AI video creation process accurate, efficient, and visually compelling.
How to Upload References for Flawless AI Video Creation
Did you know that videos using well-chosen reference images can achieve up to 40 percent higher visual quality in AI generation tests? Nailing your references matters because every image guides the AI, shaping the final story and look of your project. With the right preparation and steps, you can turn simple photos into a blueprint that brings your creative vision to life more accurately and with stunning consistency.
Quick Summary
| Key Point | Explanation |
|---|---|
| 1. Use high-quality reference images | Select 3-5 clear, well-lit images to represent your video's visual style accurately. |
| 2. Ensure alignment with your script | Match reference images closely with narrative segments for enhanced coherence and impact. |
| 3. Organize references by purpose | Categorize files as character references or scene settings to aid AI comprehension during video generation. |
| 4. Review and adjust uploaded images | Carefully examine uploaded references for consistency and storytelling potential, replacing any that don’t fit. |
| 5. Assign clear roles to each reference | Define functions for each reference image to guide the AI effectively in telling your video story. |
Table of Contents
- Step 1: Prepare Reference Files For Upload
- Step 2: Access The Reference Upload Interface
- Step 3: Select And Attach Reference Images Or Scripts
- Step 4: Review And Confirm Uploaded References
- Step 5: Integrate References Into Your Video Project
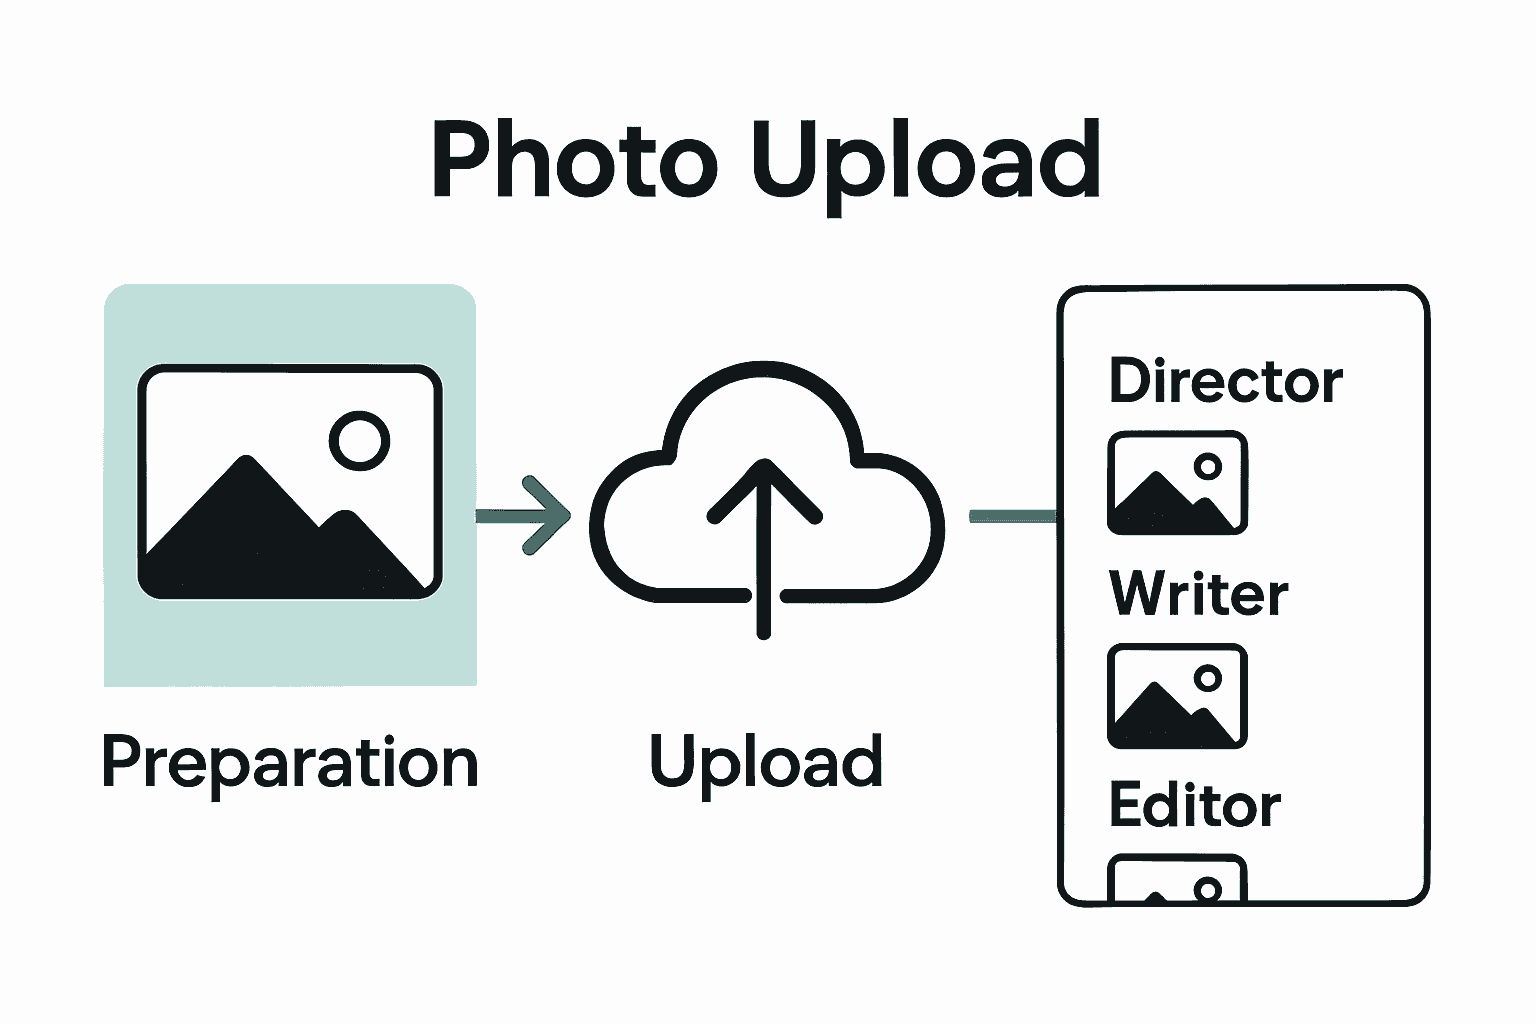
Step 1: Prepare reference files for upload
Getting your reference files ready is the foundation for creating stunning AI-generated videos. Think of these images as the visual DNA that helps the AI understand exactly what you want to create.
Start by selecting 3-5 high quality reference images that represent the core visual style and subjects you want in your video. Quality matters more than quantity. Choose images with clear details, good lighting, and minimal background clutter. Professional photographers or graphic designers often capture ideal reference images that communicate style precisely.
According to research from the Phantom framework, reference images work best when they align closely with your text descriptions. This means picking visuals that match your narrative vision. For instance, if you are creating a video about mountain climbing, select images showing climbers, mountain landscapes, or climbing gear that reflect the exact mood and aesthetic you want.
Pro Tip: Batch generate or carefully curate your references to maintain visual consistency across your project.
When preparing your images, aim for a mix of perspectives. Include full body shots, close ups, and scene establishing images. This gives the AI a comprehensive understanding of your creative intent. Avoid heavily filtered or overly edited images as they can confuse the generation process.
Here's a comparison of best practices for preparing reference images:
| Aspect | Recommended Approach | What to Avoid |
|---|---|---|
| Image Quality | High resolution, Clear details | Low resolution, Blurry details |
| Composition | Good lighting, Minimal clutter | Poor lighting, Busy backgrounds |
| Perspectives | Full body shots, Close ups, Scene establishing | Identical angles, No variety |
| Editing | Natural, unfiltered | Overedited, Heavy filters |
| File Format | JPEG, PNG, At least 1080p | Obscure formats, Low resolution |
| Naming | Descriptive file names | Generic names, Numbers only |
File format matters too. Stick to standard image formats like JPEG or PNG. Ensure your images are at least 1080p resolution for the best results. Rename your files with descriptive titles that help you quickly identify their purpose.
Ready to take your references to the next level? Your perfectly prepared images are about to become the blueprint for an incredible AI video creation journey.
Step 2: Access the reference upload interface
Now that you have your reference images ready, it is time to bring them into the video generation platform. The reference upload interface is your gateway to transforming those carefully selected images into a visual blueprint for your AI-powered video.
First, log into your Palmedor.ai account and navigate to the video creation dashboard. Look for a prominent upload button typically marked with a cloud icon or labeled "Upload References" near the top of the screen. Click this button to open the reference upload window.
According to insights from Runway Gen-4 research, platforms like these are designed to make image uploads intuitive. You will see a drag and drop zone where you can directly slide your prepared images from your computer. Alternatively, you can click "Select Files" to browse and choose your images manually.
Pro Tip: Upload images one at a time if you want to carefully review each before finalizing.
The platform will typically show thumbnails of your uploaded images, allowing you to confirm they have been processed correctly. Pay attention to any file size or format restrictions the system might have. Most platforms support standard formats like JPEG and PNG with resolution recommendations around 1080p.
Once your images are uploaded, the system will begin analyzing them to understand the visual style and subjects.
 This process helps the AI generate a video that maintains consistent characters, environments, and aesthetic across different scenes.
Ready to see your references come to life? The next step will guide you through configuring how these images will influence your final video creation.
Step 3: Select and attach reference images or scripts
With your images uploaded, you are now ready to fine-tune how these references will shape your AI video. This is where the magic happens your creative vision starts transforming from static images to dynamic storytelling.
Look for the "Reference Selection" section in the interface.
According to research from ReelMind's multi-image fusion techniques, you can strategically attach multiple images to reinforce character and style consistency. Select each image and assign its specific purpose like character reference, scene backdrop, or style guide.
If you have a script, locate the script upload or text input area. Most platforms allow you to paste your script directly or upload a text document. Simplified platform research suggests pairing your references with descriptive prompts that help the AI understand your narrative intent.
Pro Tip: Match your script sections with corresponding reference images to help the AI maintain visual narrative coherence.
Carefully review your selections. Confirm that each reference image aligns with the corresponding script segment or visual mood you want to capture. Some platforms offer preview thumbnails or style matching indicators to help you validate your choices.
Consider how each reference contributes to your overall video vision. Are the images communicating the right emotion? Do they represent the characters and environments you want? Take a moment to ensure everything feels right before proceeding.
Your references are now strategically positioned. Get ready to witness how these visual blueprints will guide the AI in crafting your unique video story.
Step 4: Review and confirm uploaded references
You are now at a critical checkpoint in your AI video creation journey. Reviewing your uploaded references ensures that the visual groundwork for your project is rock solid before the generation process begins.
Carefully scan through each reference image you have uploaded. According to AnimeShooter dataset research, the coherence of your references directly impacts the final video output. Look closely at how each image represents the characters, environments, and visual style you want to capture.
Check that your references cover different perspectives and scenarios. This helps the AI understand the nuanced visual language you are trying to communicate. Are your character references showing different poses? Do your scene references capture various lighting and emotional tones?
Pro Tip: Imagine your references telling a mini story. If they flow logically and emotionally, the AI will have a clearer guide.
Simplified platform insights recommend paying special attention to motion potential in your images. Static images that suggest movement or dynamic energy will help the AI generate more fluid video sequences.
If something feels off or does not quite match your vision, now is the perfect time to swap out or adjust references. Most platforms allow you to remove or replace images quickly. Trust your creative instinct if a reference does not feel right.
Once you are satisfied with the visual consistency and storytelling potential of your references, you are ready to move forward. Your carefully curated images are about to become the blueprint for an extraordinary AI generated video.
Step 5: Integrate references into your video project
You are about to transform your carefully selected references from static images into a dynamic video narrative. This step is where your creative vision starts taking shape through strategic visual integration.
According to Segmind research, the key is to group your reference images thoughtfully. Begin by categorizing your references based on their purpose character references, scene aesthetics, mood boards. This organizational approach helps the AI understand the visual continuity you want to achieve.
Runway Gen-4's research highlights the importance of embedding references into narrative continuity. Look for project settings that allow you to assign specific roles to each reference image. Some platforms let you indicate whether an image represents a primary character, background environment, or stylistic guide.
Pro Tip: Think of your references like casting directors. Each image should have a clear job in telling your video story.
Pay attention to the weight and influence you can assign to each reference. Some advanced platforms allow percentage based control over how strongly each reference impacts the final output. This means you can fine tune whether a reference guides the entire visual style or influences just specific scene elements.
Review the integration carefully. Does each reference feel like it belongs in the same visual universe? Are the color palettes harmonious? Do the character poses and environments suggest a cohesive narrative flow?
Your references are now strategically woven into the fabric of your video project. The AI is ready to translate these visual blueprints into a living breathing narrative.
Elevate Your AI Video Creation with Palmedor.ai
Have you ever struggled to get your AI video to match your vision, even after uploading reference images? It can be frustrating when your ideas do not translate into cinematic results. Whether it is aligning reference images to your script, ensuring style consistency, or managing different perspectives, these challenges can halt creativity and waste time. You deserve a platform that understands not just your files, but your intent—and delivers flawless, professional-grade videos with ease.
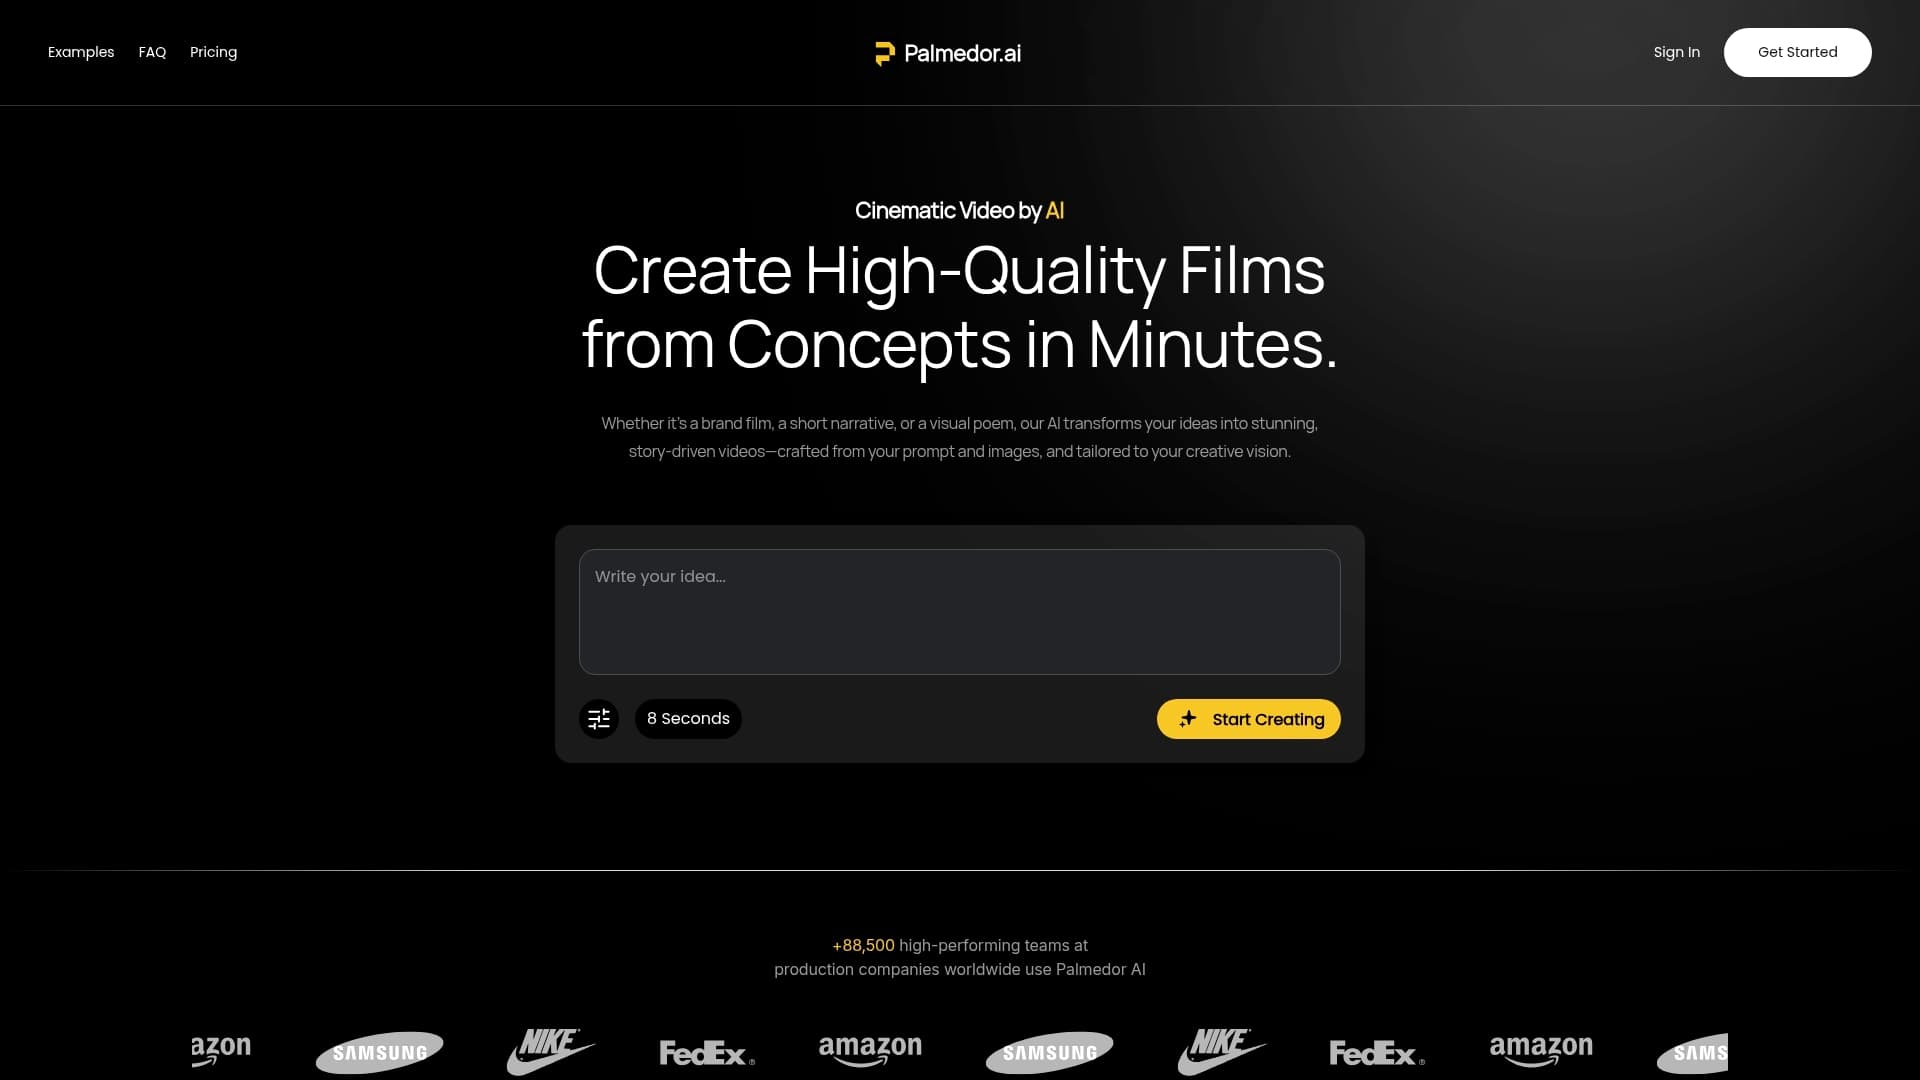
Experience how Palmedor.ai turns your carefully prepared references into dynamic, visually coherent videos. Our streamlined interface lets you assign clear roles to each image, combine them with smart scripting, and preview every detail before finalizing your project. If you are ready to let AI handle scene creation, editing, and rendering while you focus on storytelling, visit our landing page now. Take advantage of flexible pricing and instant onboarding so you can start creating videos that match your vision today.
Frequently Asked Questions
How do I prepare reference files for AI video creation?
To prepare reference files, select 3-5 high-quality images that match your video's visual style and subject. Focus on images with clear details, good lighting, and minimal background clutter to help the AI understand your vision.
What file formats should I use when uploading reference images?
Use standard image formats like JPEG or PNG for your reference images. Ensure the images have a resolution of at least 1080p for optimal results.
Can I upload multiple reference images at once for my AI video project?
Yes, you can typically drag and drop multiple reference images into the upload interface. However, consider uploading them one at a time to review and confirm each image's relevance to your project.
How can I ensure that my reference images are effective for storytelling?
To ensure effectiveness, select images that cover different perspectives and scenarios relevant to your narrative. This variety will help the AI generate a more coherent and compelling video story.
What should I do if I notice an issue with my uploaded reference images?
If you notice any issues, use the platform's option to remove or replace the images promptly. Trust your creative judgment and make adjustments to ensure each reference aligns with your intended visual narrative.
How do I integrate my reference images into the AI video project?
You can integrate reference images by categorizing them based on their roles, such as character references or scene aesthetics. Assign specific influence weights to each reference to guide the AI on their importance in shaping your video.