How to Create Explainer Videos with AI Tools Easily
Learn how to create explainer videos step by step using AI. Discover creation, editing, and quality-checking workflows for professional video content.
How to Create Explainer Videos with AI Tools Easily
Over 60 percent of marketers now use AI tools to create explainer videos that capture attention and drive engagement. Yet many miss the mark by skipping steps that shape message, visuals, and technical details for their audience. Mastering each stage of this process helps you create videos that are clear, effective, and ready for any platform—even if you’re new to AI video creation.
Table of Contents
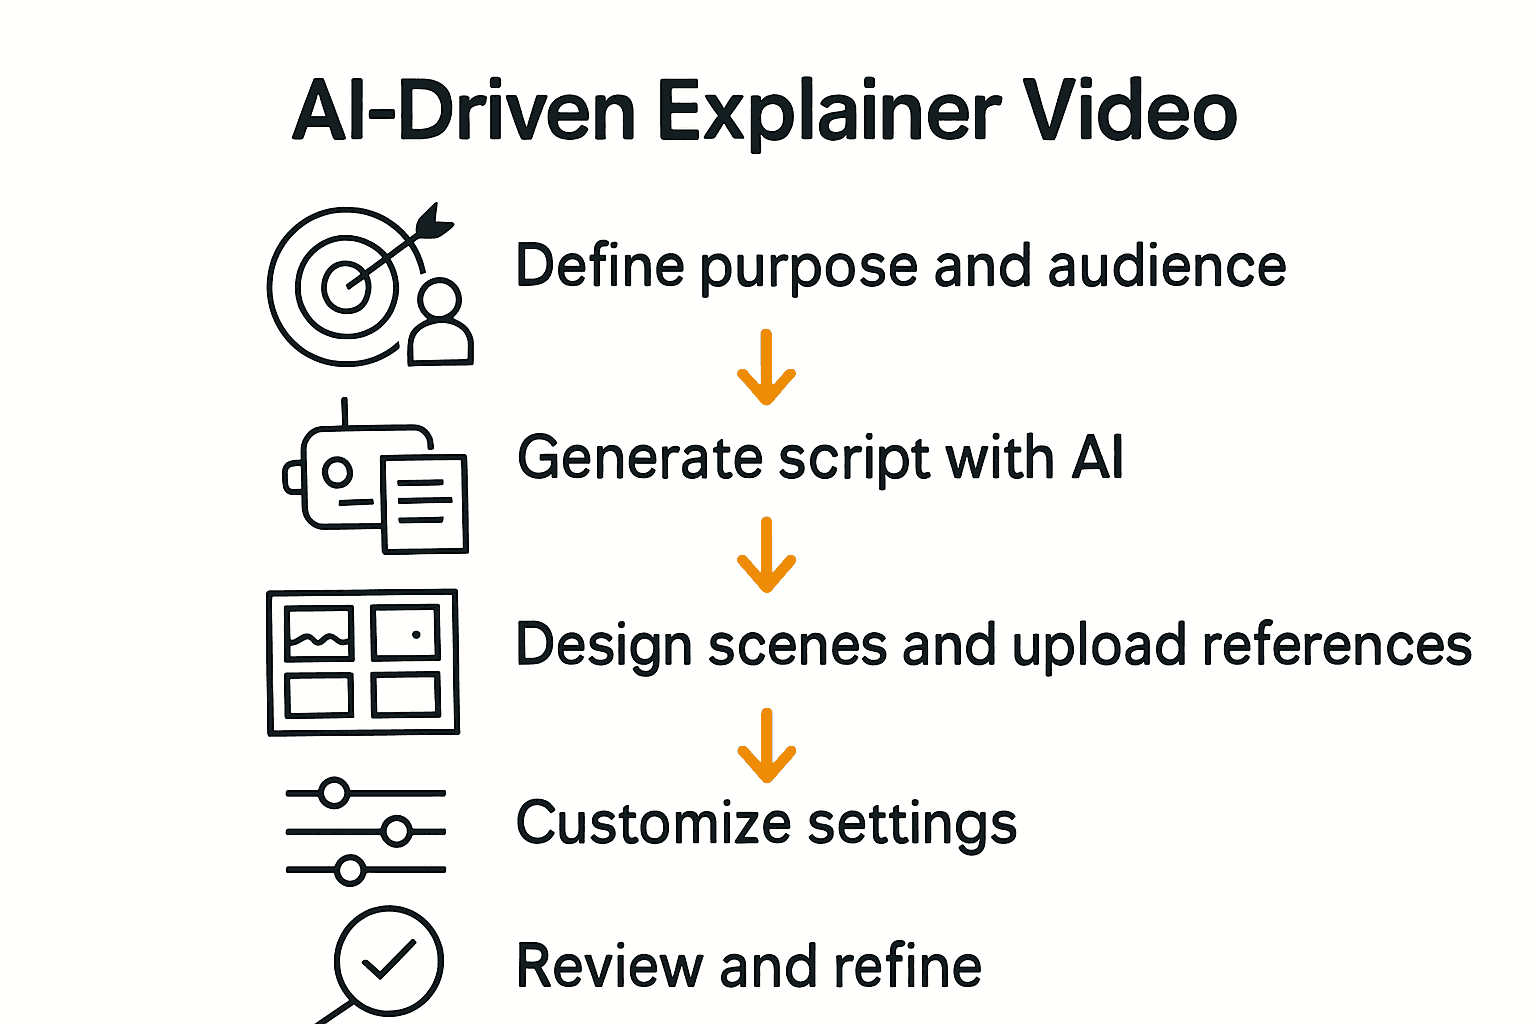
- Step 1: Define Your Video's Purpose And Audience
- Step 2: Generate A Compelling Script With AI
- Step 3: Design Scenes And Upload Visual References
- Step 4: Customize Settings And Adjust Formats
- Step 5: Review And Refine Your Final Explainer Video
Quick Summary
| Key Point | Explanation |
|---|---|
| 1. Define your video's purpose and audience | Clearly outline your video's message and target viewers to enhance engagement and comprehension. |
| 2. Utilize AI for script generation | Leverage AI tools to create scripts efficiently, ensuring they align with your intended tone and audience needs. |
| 3. Design scenes with visual references | Break your script into scenes and upload specific visual references to help the AI generate accurate visuals. |
| 4. Customize technical settings | Adjust video formats, aspect ratios, and technical specifications based on your target distribution platforms. |
| 5. Conduct a thorough review and refine | Watch the video multiple times, assessing narrative flow, technical quality, and alignment with your objectives to ensure a professional final product. |
Step 1: Define your video's purpose and audience
Before diving into creating an AI generated explainer video, you need a crystal clear understanding of why you're making this video and who will watch it. Think of your video like a precise communication tool designed to deliver a specific message to a targeted group of viewers.
According to research exploring AI video generation in educational contexts from arXiv, aligning your video content with clear learning objectives and audience expectations dramatically improves engagement and comprehension. This means taking time upfront to map out exactly what you want viewers to understand and learn.
Start by answering three critical questions: What is the core message of my video? Who specifically needs to hear this message? What action or understanding do I want my audience to walk away with? For instance, if you're creating a product tutorial video for tech professionals, your purpose might be demonstrating a software feature's practical application. Your audience definition would then include software developers or IT managers who need this specific technical knowledge.
A pro tip that can save you hours of rework. Create a simple audience persona before scripting. Write down demographic details age range, professional background, technical expertise, and potential pain points. This helps you craft language and examples that will resonate directly with your intended viewers.
Once you've crystallized your purpose and audience, you're ready to move on to scripting your explainer video with laser focused precision.
Step 2: Generate a compelling script with AI
With your video's purpose and audience defined, it's time to craft a script that speaks directly to your viewers. AI tools have transformed scriptwriting from a challenging task into an efficient, creative process that can generate compelling narratives in minutes.
Research from arXiv introduces VScript, an innovative AI technology that allows users to control script generation by inputting genres and starting words. This means you can guide the AI to create scripts that align precisely with your video's intended tone and message. Start by providing clear context about your video's purpose enter details like target audience, key messages, and the specific style you want whether its educational, promotional, or storytelling.
When using AI script generation tools, think of yourself as a collaborative director. You're not just passively accepting what the AI produces but actively shaping and refining the output. Input specific parameters such as video length, complexity level, and key points you want covered. Some AI tools allow you to specify technical depth professional jargon or simplicity level based on your audience persona.
A critical pro tip while using AI script generation technology. Always review and edit the generated script. AI provides an excellent starting point but human insight ensures the script truly resonates with your specific audience. Look for natural flow, ensure technical accuracy, and verify that the script maintains your brand's unique voice.
Once you have a draft script generated by AI, you'll be ready to move on to the next exciting stage of bringing your explainer video to life.
Step 3: Design scenes and upload visual references
Now that your script is ready, it's time to bring your video to life by designing scenes and uploading visual references that will guide the AI in creating your explainer video. This step transforms your written words into a visual storytelling experience.
According to research about LTX Studio, modern AI video generation tools enable users to create characters, scenes, and storyboards directly from text prompts. This means you can translate your script into visual components by providing detailed descriptions of each scene. Think about the mood, setting, character positions, and key visual elements that will help communicate your message effectively.
Start by breaking down your script into individual scenes. For each scene, consider uploading reference images that capture the aesthetic you want. These could be stock photos, screenshots, or even personal images that represent the tone and style you're aiming for. If you're explaining a technical process, include diagrams or infographics. For a marketing video, upload brand color palettes or previous video references that match your company's visual identity.
A pro tip for visual reference uploads. Be specific and consistent. Vague or mismatched references can confuse the AI and lead to unexpected results. Provide clear, high quality images that directly relate to the scene's content and your overall video purpose. The more precise your visual guidance, the more accurately the AI can generate scenes that match your vision.

With your scenes designed and references uploaded, you're ready to let the AI work its magic and transform your script into a dynamic visual narrative.
Step 4: Customize settings and adjust formats
With your scenes designed and visual references uploaded, you're now ready to fine tune your explainer video's technical specifications. This stage is about transforming your raw content into a polished professional product that meets your exact distribution needs.
Research from LTX Studio highlights the importance of integrated editing controls that allow users to customize settings such as framing and camera direction. These tools give you precise control over how your video will look and feel. Consider key parameters like video duration, aspect ratio, resolution, and overall visual style. Are you creating a vertical video for social media? A widescreen format for presentations? Each platform and use case demands specific technical configurations.
Start by selecting the appropriate format for your target platforms. If you're planning to share on multiple channels like YouTube, Instagram, and LinkedIn, you might need to generate different versions with varying aspect ratios. Modern AI video tools often provide preset configurations that automatically optimize your video for specific platforms. Look for options to adjust frame rates, choose between landscape or portrait modes, and set specific output resolutions that match your intended viewing environment.
A critical pro tip for video format customization. Always preview your video in its intended format before final export. Small details like text legibility, scene transitions, and visual clarity can change dramatically when switching between different aspect ratios. Some AI tools offer split screen previews that let you see how your video will appear across multiple format types simultaneously.
Once you've fine tuned your video's technical settings, you'll be ready to generate the final version of your explainer video.
Step 5: Review and refine your final explainer video
You're in the home stretch of creating your AI generated explainer video. This final review stage is crucial for ensuring your video meets professional standards and effectively communicates your intended message.
Research from arXiv emphasizes the critical importance of thoroughly reviewing AI generated videos to verify they align with educational objectives and audience expectations. Approach your review systematically by examining multiple key aspects of the video.
Start by watching the entire video multiple times from different perspectives. First viewing focus on overall narrative flow. Second viewing check technical elements like audio clarity, visual transitions, and scene coherence. Third viewing critically assess whether the content truly meets your original purpose and audience needs. Pay special attention to moments where the AI might have misinterpreted your script or visual references.
A pro tip for video refinement. Create a detailed checklist before your review process. Include items like script accuracy, visual representation quality, technical specifications compliance, brand consistency, and emotional resonance. Many AI video tools offer granular editing options that allow you to tweak specific scenes or elements without regenerating the entire video.
If you find significant issues during review, don't hesitate to regenerate scenes or make substantial adjustments. Your goal is a polished professional video that looks seamless and intentional.
Transform Your AI Explainer Video Creation with Palmedor.ai
Creating AI-generated explainer videos can feel overwhelming when you try to manage scripting, scene design, and format customization all at once. This article highlights the common challenge of turning an idea into a polished video that truly resonates with your audience while maintaining control over every detail. If you want to avoid the frustration of endless edits and technical hurdles, it is essential to have a streamlined solution that handles everything from AI-powered script generation to scene management and video output customization.
Palmedor.ai is designed precisely to eliminate these pain points. With smart presets and intuitive controls, you can effortlessly convert your concepts into professional-grade videos that reflect your brand's voice and style. Whether you need cinematic storytelling, quick social clips, or detailed product tutorials, Palmedor.ai empowers you to stay focused on your message while the AI handles the heavy lifting.
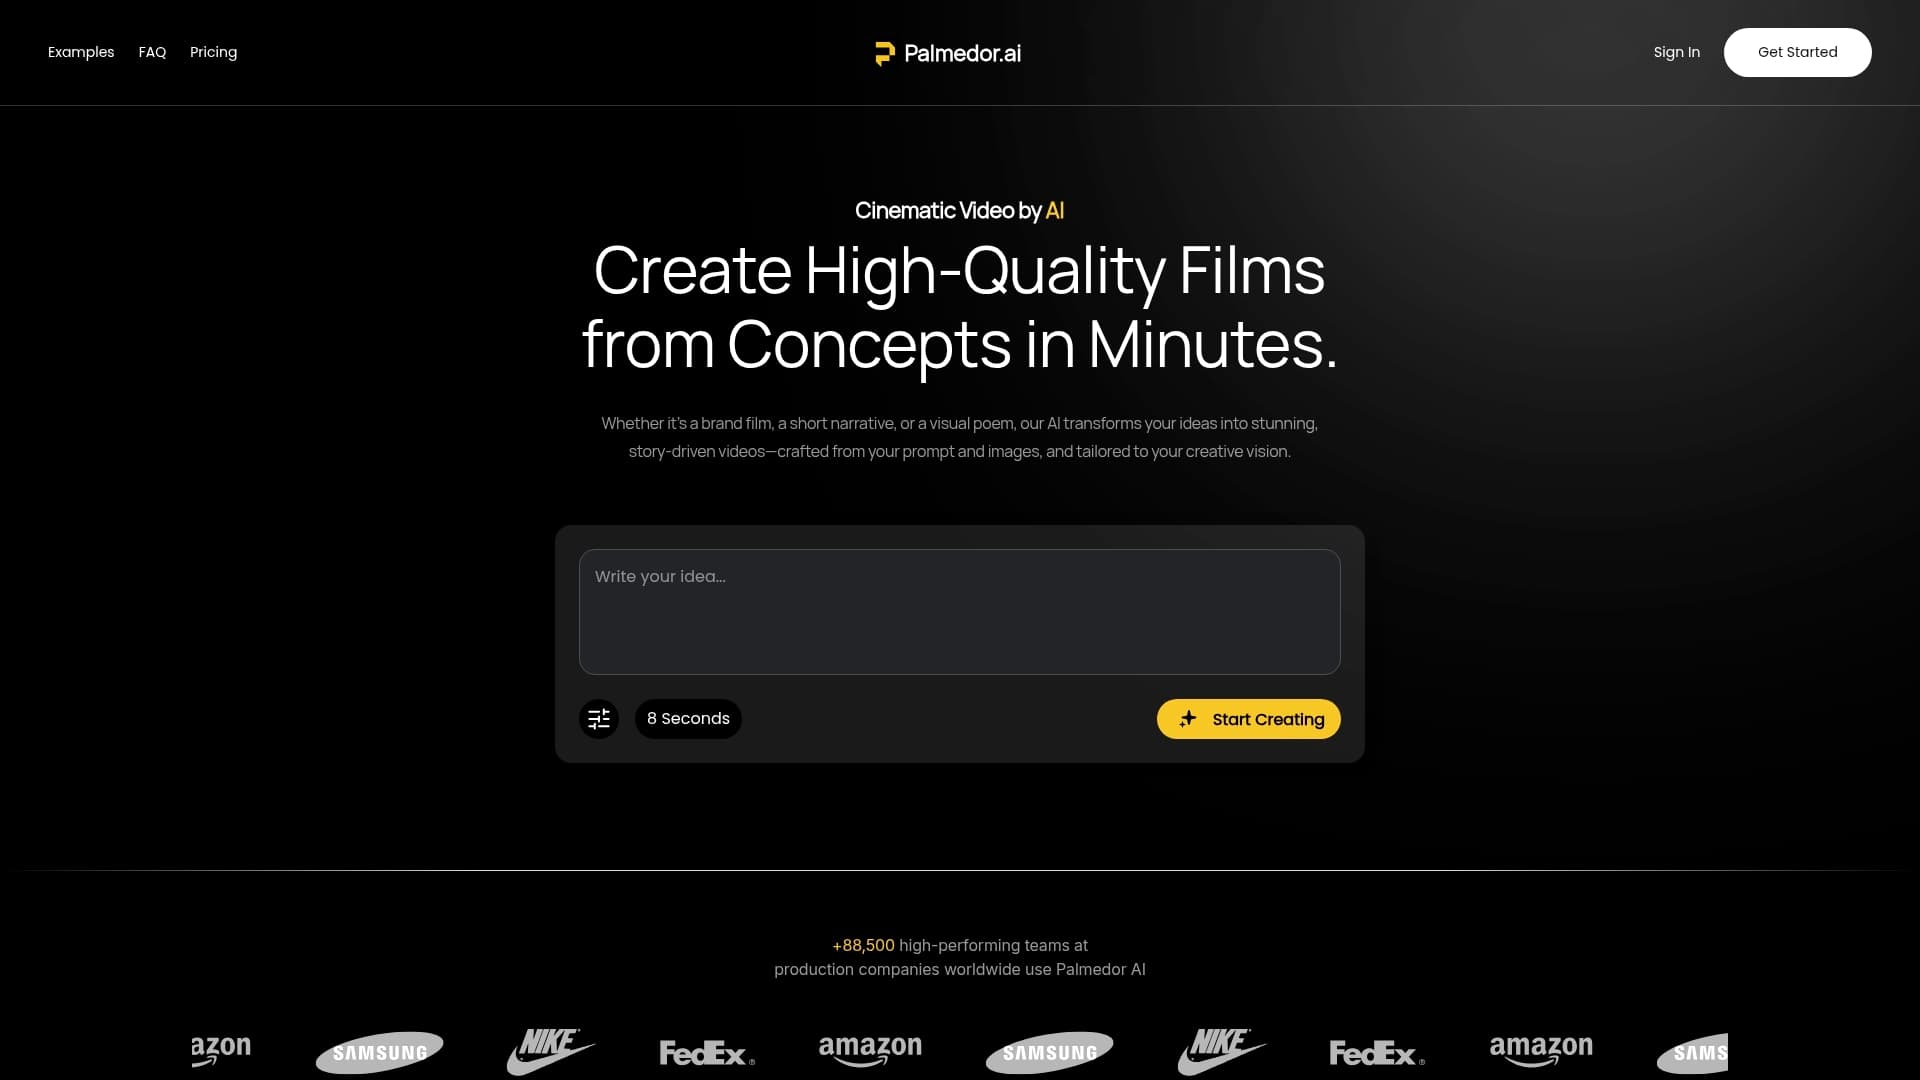
Ready to produce your next explainer video with confidence and speed? Discover how Palmedor.ai simplifies the entire video creation workflow at Palmedor.ai. Dive into a platform where ideas become vibrant stories and watch your creativity come to life without technical stress. Start your journey now by exploring Palmedor.ai’s video creation tools and experience effortless production today.
Frequently Asked Questions
How do I determine the purpose of my AI-generated explainer video?
To determine the purpose of your AI-generated explainer video, start by defining your core message and understanding who your target audience is. Answer questions like, "What do I want viewers to learn?" and "What action should they take afterward?" This clarity will guide your script and visuals effectively.
What steps are involved in creating a script for an AI explainer video?
Creating a script involves defining your video's purpose, identifying your audience, and then crafting the narrative. Begin by outlining key messages and using AI tools to generate a draft script that reflects your desired tone and content.
How can I effectively design scenes for my AI explainer video?
Effectively designing scenes involves breaking down your script into individual elements and uploading relevant visual references. For each scene, clearly describe the mood, setting, and key visuals, which will help the AI generate accurate depictions of your ideas.
What are important technical settings I should customize when creating my explainer video?
Important technical settings to customize include video duration, aspect ratio, and resolution. Decide the appropriate format for your target platforms, ensuring that the video aligns with the viewing experience on each channel, like social media or presentations.
How do I review and refine my final explainer video?
To review and refine your final explainer video, watch it multiple times focusing on different aspects like narrative flow and technical elements. Create a detailed checklist to assess quality, accuracy, and emotional impact, making necessary adjustments to ensure a polished final product.
What should I do if the AI-generated script doesn’t resonate with my audience?
If the AI-generated script doesn’t resonate, actively refine it by adding personal touches or specific examples that speak to your audience's needs. Review the script with your target persona in mind, making adjustments to better align with their expectations and interests.