Format Script Video for Cinematic Results with AI
Learn how to format script video for professional-quality production using Palmedor.ai. Follow clear steps to convert ideas into cinematic videos today.
Format Script Video for Cinematic Results with AI

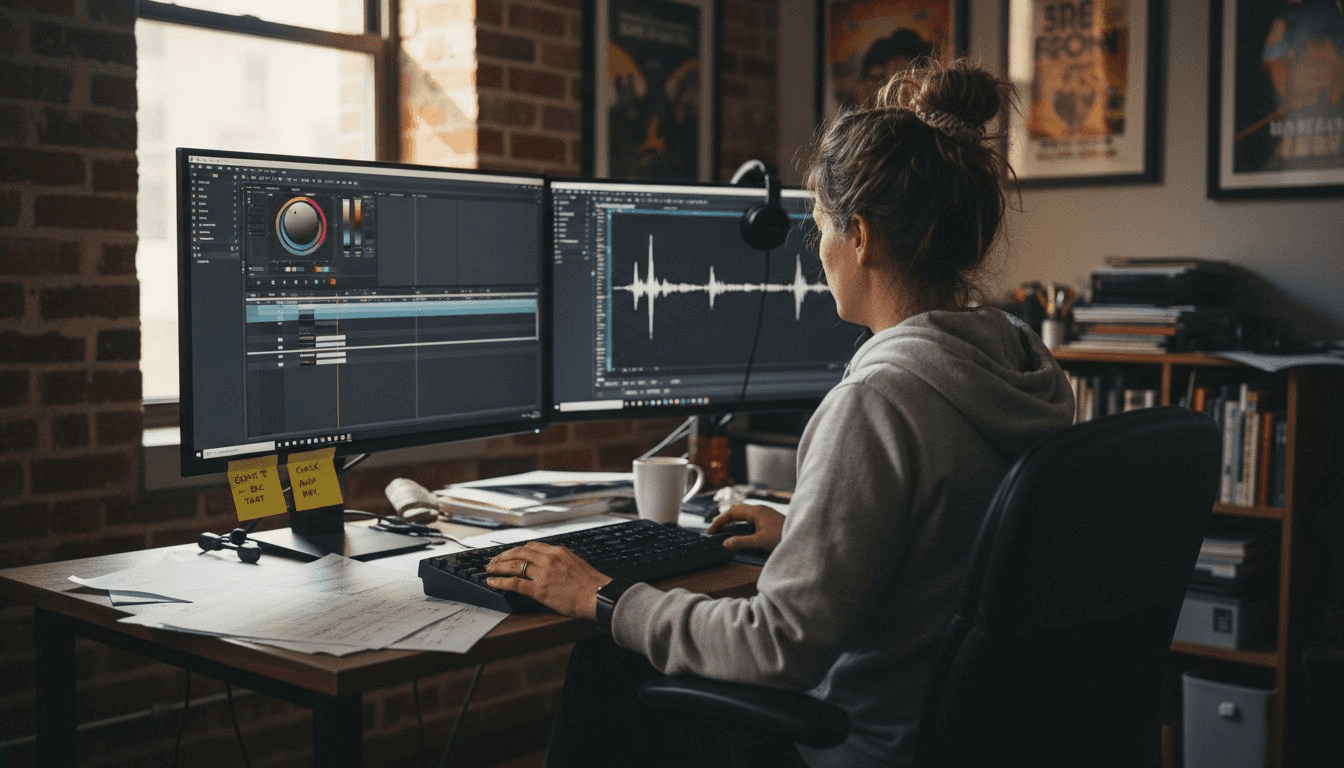
Nearly half of American video creators admit that technical obstacles slow down their projects. For independent filmmakers and creative agencies around the world, turning a simple vision into stunning professional output can feel out of reach without advanced skills. This guide cuts through complexity by revealing practical steps to help you create cinematic videos using straightforward script prompts, unlocking visual storytelling even if you have never set foot in a traditional editing suite.
Table of Contents
- Step 1: Prepare Source Material And Select Script Format
- Step 2: Import Script Into Palmedor.ai And Define Scenes
- Step 3: Customize Visual Elements And Presets For Clarity
- Step 4: Integrate Audio, Cast, And Moodboards For Depth
- Step 5: Verify Output And Export Final Formatted Video
Quick Summary
| Key Point | Explanation |
|---|---|
| 1. Collect Comprehensive Source Material | Gather detailed narratives, character backgrounds, and scene settings to serve as your project's blueprint. |
| 2. Choose the Right Script Format | Select formats like Hollywood screenplay or modern narratives to enhance clarity and structure in your script. |
| 3. Fine-Tune Scene Parameters | Review AI-generated scene breakdowns and adjust details like duration and emotional tone for optimal storytelling. |
| 4. Customize Visual Elements Carefully | Utilize advanced tools for color grading, lighting, and camera movements to elevate your video’s aesthetic quality. |
| 5. Conduct a Thorough Review Before Export | Play through the entire video multiple times checking for coherence and quality before finalizing the export. |
Step 1: Prepare source material and select script format
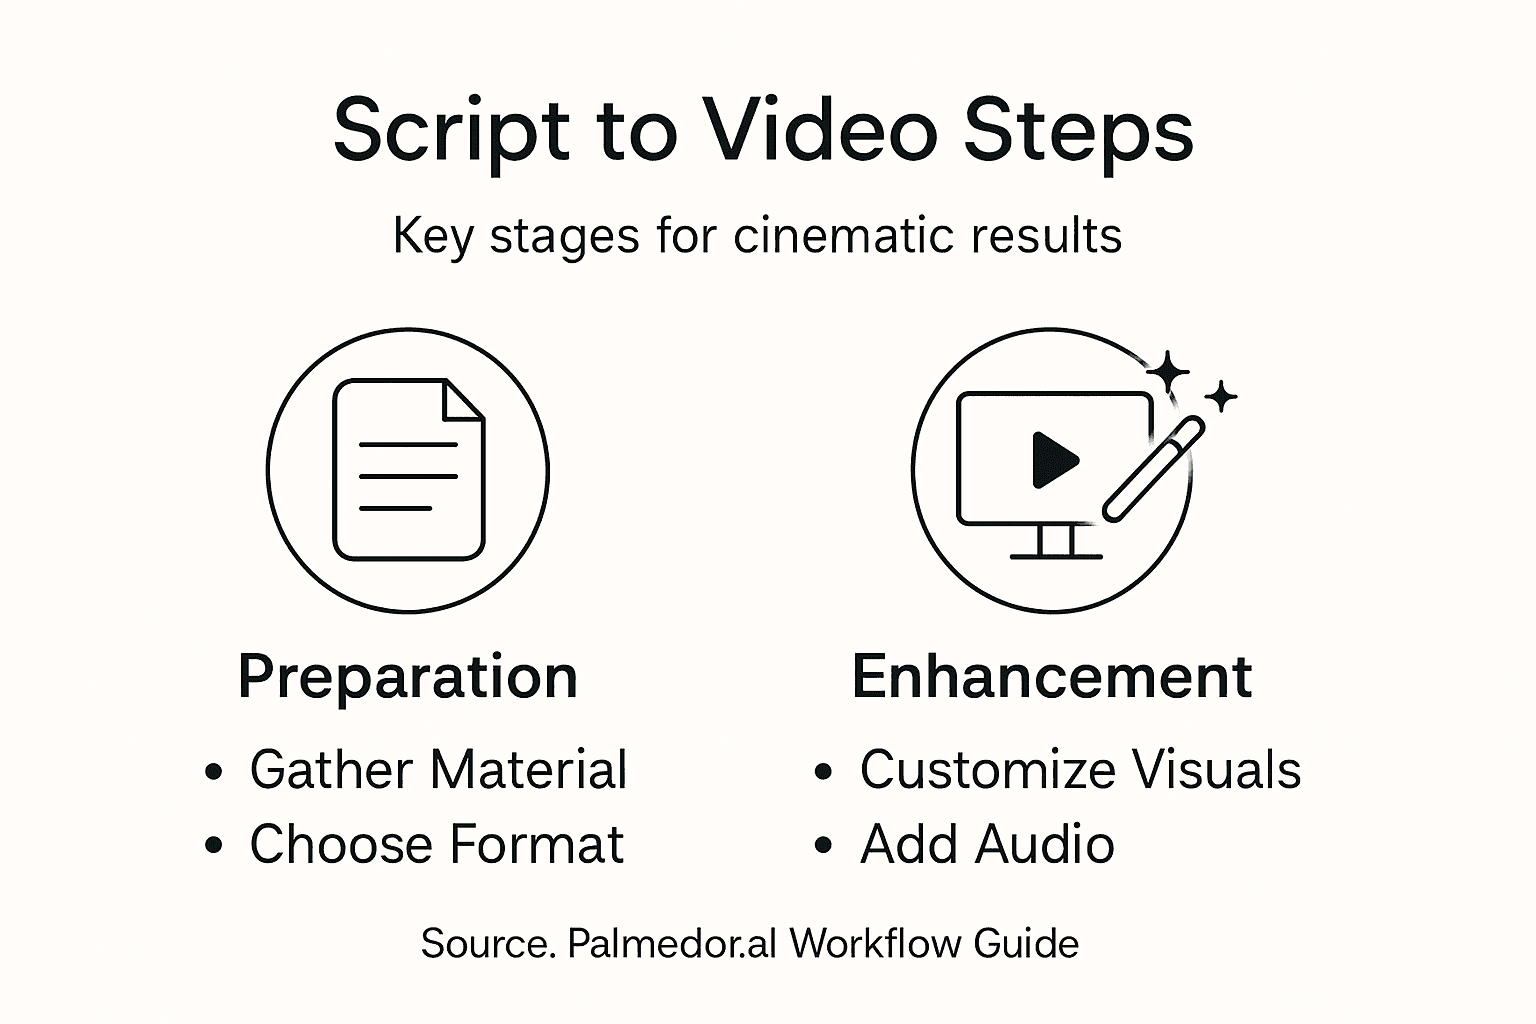
Begin your cinematic journey by gathering the right source materials and selecting the optimal script format for your AI video production. This crucial first step sets the foundation for transforming your creative vision into a professional visual narrative.
Start by collecting comprehensive source material that will guide your AI video generation. This includes detailed narrative descriptions, character backgrounds, scene settings, and any visual references you want to incorporate. Think of these materials like a director's comprehensive notes providing the essential blueprint for your video. Professional script preparation can help streamline this process and ensure your source content is structured effectively.
When selecting a script format, consider industry standard templates like the classic Hollywood screenplay format or more modern storytelling approaches. Your chosen format should clearly communicate scene descriptions, dialogue, and action sequences. Most AI video platforms work best with clean, well organized scripts that provide clear visual and narrative instructions. Focus on creating a logical flow that helps the AI understand your creative vision precisely and translate it into compelling visual sequences.
Here's a quick reference comparing script formats for AI video production:
| Script Format | Description | Ideal Use Case |
|---|---|---|
| Hollywood Screenplay | Standard for cinematic productions | Feature films, dramas |
| Modern Narrative | Flexible structure, story focused | Documentaries, web videos |
| Structured Scene List | Outline with clear scene breakdowns | Tutorials, explainer vids |
Pro tip: Organize your source materials in a digital folder with clear naming conventions to help you track different versions and references throughout your video production process.
Step 2: Import script into Palmedor.ai and define scenes
Now that you have prepared your source materials, it is time to bring your script to life within the Palmedor.ai platform. This step transforms your carefully crafted narrative into a structured visual storytelling framework ready for AI video generation.
Begin by navigating to the script import interface and uploading your prepared script file. Palmedor.ai supports multiple formats, including standard screenplay templates and structured narrative documents. As you upload, the platform will automatically parse your script and identify key narrative elements such as scenes, characters, and dialogue. Pay close attention to how the AI interprets your script segments into potential visual sequences.
Next, dive into scene definition by reviewing the automatically generated scene breakdowns. You will have the opportunity to fine tune each scene parameters including duration, emotional tone, camera angles, and visual style. This is where your creative direction meets AI capabilities. Carefully review each scene to ensure the platform understands the nuanced storytelling elements you want to communicate. Take time to adjust scene transitions, add specific visual cues, and refine the overall narrative flow to match your original creative vision.
Pro tip: Create a backup of your original script before importing to ensure you always have a reference point for your initial creative concept.
Step 3: Customize visual elements and presets for clarity
With your script imported, you are now ready to transform your raw narrative into a visually stunning cinematic experience. This step focuses on leveraging Palmedor.ai's advanced visual customization tools to bring precision and artistic clarity to your video project.
Dive into the platform's preset library and explore cinematic visual enhancements that can elevate your video's production quality. You will find a comprehensive range of preset options including color grading profiles, lighting configurations, and camera movement styles. Each preset offers a unique aesthetic approach that can dramatically change the emotional tone and visual narrative of your scenes. Take time to preview different presets and understand how they interact with your specific script elements.
Pay special attention to the nuanced customization options available for each visual element. Adjust color temperatures, experiment with lighting intensities, and fine tune camera angle recommendations. The goal is to create a cohesive visual style that complements your narrative while maintaining the authentic storytelling vision you originally outlined. Remember that these presets are starting points you can further personalize to match your creative intent precisely.
This table summarizes key customization features available in Palmedor.ai:
| Customization Area | Impact on Video Quality | Example Options |
|---|---|---|
| Color Grading | Sets mood and ambiance | Warm tones, cool palettes |
| Lighting | Shapes atmosphere, clarity | Intensity, direction, softness |
| Camera Movements | Adds dynamism, engagement | Pans, zooms, tracking shots |
Pro tip: Create and save custom preset combinations for future projects to develop a consistent visual signature across your video productions.
Step 4: Integrate audio, cast, and moodboards for depth
With your visual elements refined, it is time to add layers of emotional depth and narrative richness to your video project. This critical step transforms your visual concept into a fully realized storytelling experience by integrating sophisticated audio, cast, and moodboard elements.
Explore audiovisual storytelling techniques that will breathe life into your narrative. Palmedor.ai offers robust tools for integrating native dialogue recordings, ambient soundscapes, and musical compositions that perfectly complement your visual scenes. Select audio elements that enhance the emotional resonance of each sequence, considering how sound can subtly shift mood, underscore dramatic moments, and create a more immersive viewing experience. Pay careful attention to how different audio tracks interact with your visual preset selections.
Next, refine your project's cast and moodboard elements to establish a cohesive creative vision. Upload reference images that capture the aesthetic and emotional tone you want to achieve. Use the platform's cast description tools to provide nuanced details about character appearances, acting styles, and interpersonal dynamics. These elements work together to create a comprehensive creative blueprint that guides the AI in generating a video that matches your precise artistic intent.
Pro tip: Experiment with multiple audio and moodboard combinations to discover unexpected creative synergies that can elevate your storytelling.
Step 5: Verify output and export final formatted video
You have reached the culmination of your creative journey where your carefully crafted video project transforms from a conceptual vision into a polished final product. This final step focuses on meticulous review and precise video export to ensure your cinematic narrative meets your highest artistic standards.
Initiate a comprehensive review of the AI generated video by playing the entire sequence multiple times. Scrutinize each scene for narrative coherence, visual consistency, and emotional resonance. Pay special attention to scene transitions, audio synchronization, and the overall flow of your storytelling. The video export options within Palmedor.ai provide flexible formatting choices that allow you to optimize your video for different platforms and viewing contexts. Select resolution settings, aspect ratios, and compression levels that align with your intended distribution channels whether for social media, professional presentations, or streaming platforms.
Once you are satisfied with the video quality, navigate to the export interface and choose your preferred output settings. Consider creating multiple versions with different formats to maximize your content flexibility. Take time to review the metadata, title, and description fields to ensure your video is properly tagged and easily discoverable. The export process will render your final video file ready for sharing and distribution across your preferred channels.
Pro tip: Always save an uncompressed master version of your video to preserve the highest possible quality for future editing or repurposing.
Elevate Your Script Formatting into Stunning Cinematic Videos
Struggling to format your script for cinematic AI video production can stall your creative flow and cloud your vision. This article breaks down the essential steps like script preparation, scene definition, and visual customization that unlock clear storytelling and professional results. You want your narratives to flow logically and shine with emotional depth without getting lost in technical details.
Palmedor.ai is built precisely to address those challenges by transforming your written scripts into vivid cinematic videos with ease. Our platform handles everything from script import to smart scene management and preset-driven visual styling. You can quickly integrate audio, cast details, and moodboards to add powerful layers of storytelling depth without complex software. By combining your creativity with Palmedor.ai's AI-driven workflows, you avoid the frustrations of manual formatting while gaining full control over output customization.
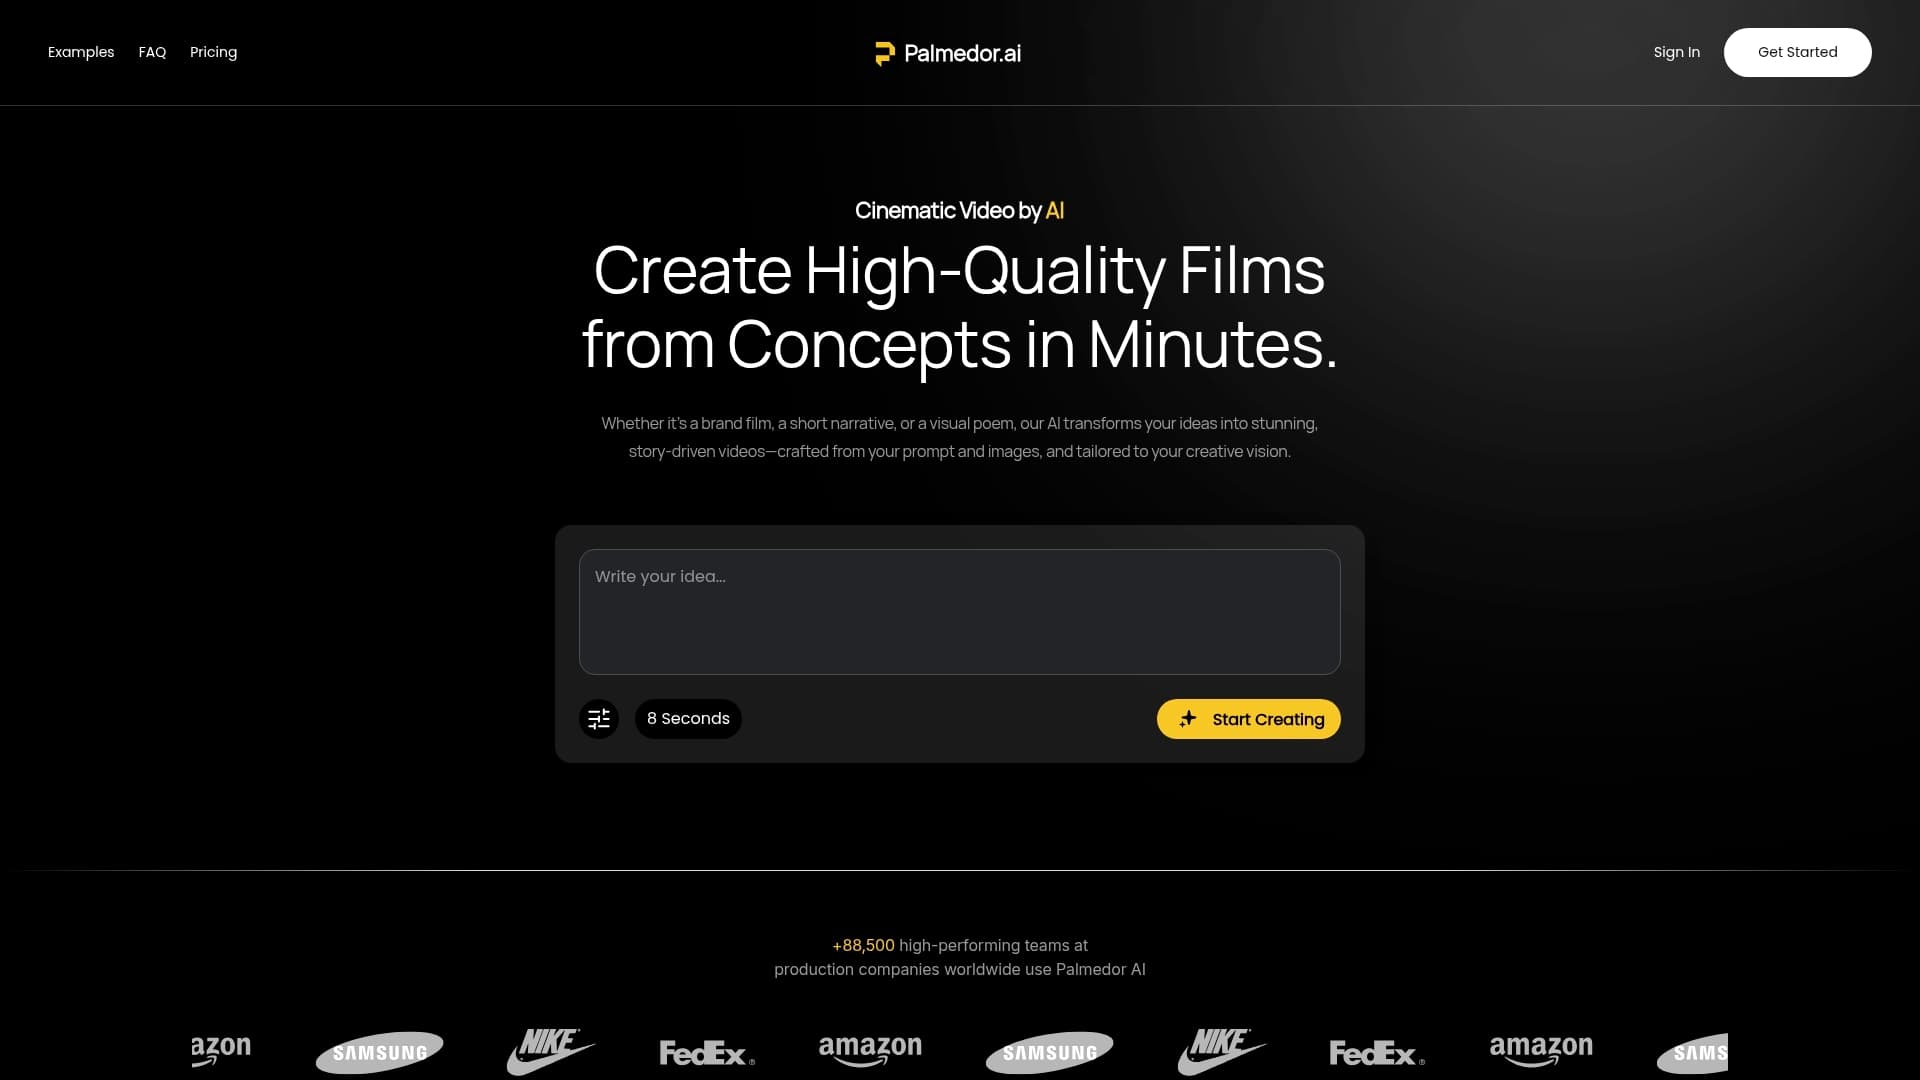
Ready to move beyond formatting struggles and realize your cinematic vision? Discover how Palmedor.ai empowers creators like you to produce brand films, social clips, and narrative videos without technical hurdles. Start your seamless video journey now at Palmedor.ai. Dive deeper into script preparation with our helpful script preparation guide and streamline your workflow by exploring our script import interface. Take the step toward professional-grade video creation today.
Frequently Asked Questions
How do I prepare my script for AI video production?
To prepare your script for AI video production, gather detailed source material and select a suitable script format. Organize character backgrounds, scene settings, and visual references clearly to guide the AI effectively.
What script formats are best for AI-generated videos?
The best script formats for AI-generated videos include the Hollywood screenplay format, modern narrative structures, and structured scene lists. Choose a format that clearly communicates your scene descriptions, dialogue, and action sequences for optimal AI interpretation.
How do I import my script into Palmedor.ai?
To import your script into Palmedor.ai, navigate to the script import interface and upload your prepared script file. Ensure that your file uses a supported format so the platform can accurately parse your scenes and characters for video generation.
What visual elements can I customize in my video project?
You can customize various visual elements in your project, such as color grading, lighting, and camera movements. Experiment with different presets and adjust parameters to create a cohesive visual style that aligns with your narrative vision.
How can audio enhance my AI-generated video?
Audio can significantly enhance your AI-generated video by adding emotional depth and richness. Integrate dialogue recordings, ambient soundscapes, or music that complements the mood of your scenes and strengthens the overall storytelling experience.
What should I check before exporting my final video?
Before exporting your final video, review the entire sequence for narrative coherence, visual consistency, and audio synchronization. Ensure all settings like resolution and aspect ratio align with your intended distribution channels for optimal viewing.